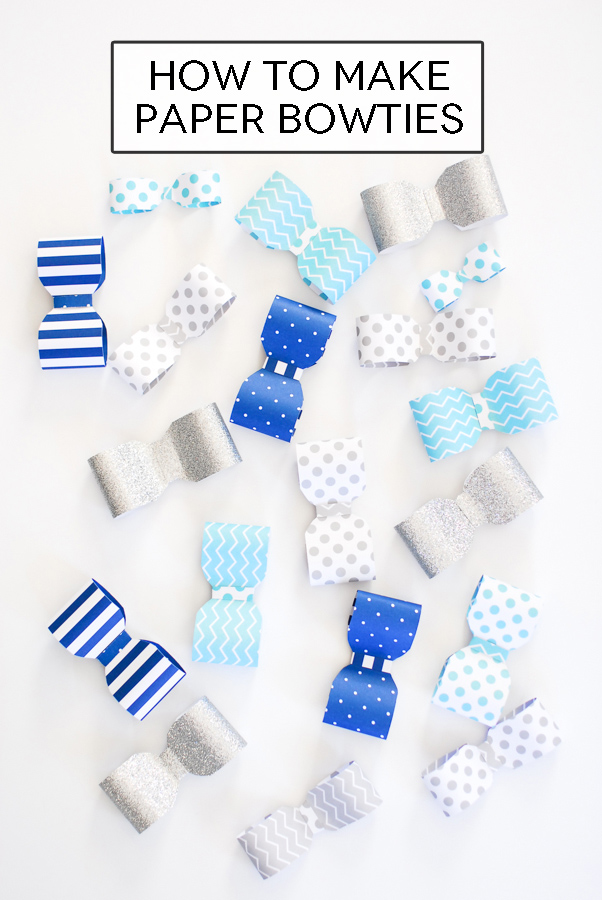
This post is sponsored by We R Memory Keepers and HSN but all opinions are my own. It’s no secret that I love planning parties and creating handmade elements to make a celebration extra special. I’m helping with a baby shower next week for a cute girl in my neighborhood who’s having a little boy. […]
The post How to Make a Paper Bowtie Garland appeared first on Paper Crush.
]]>This post is sponsored by We R Memory Keepers and HSN but all opinions are my own.
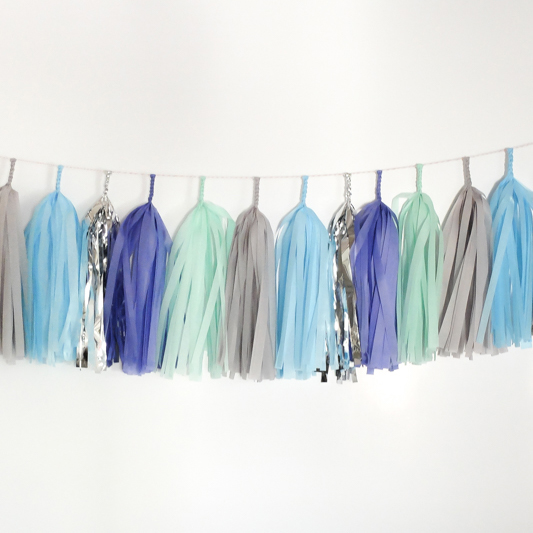
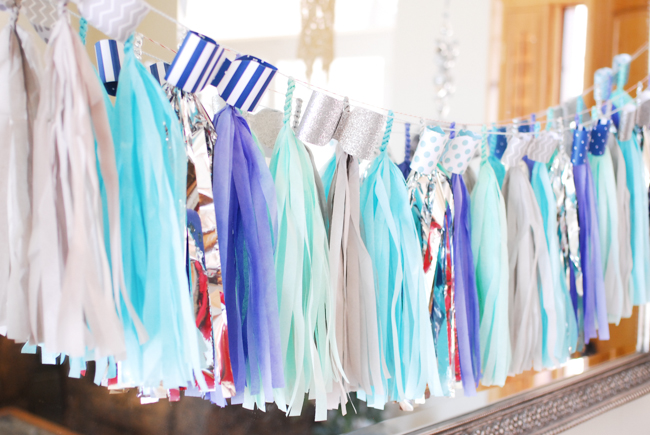
It’s no secret that I love planning parties and creating handmade elements to make a celebration extra special. I’m helping with a baby shower next week for a cute girl in my neighborhood who’s having a little boy. The colors I chose for the shower are the same ones in this fabulous tissue paper tassel garland we sell in the shop: royal blue, aqua, mint gray and silver.
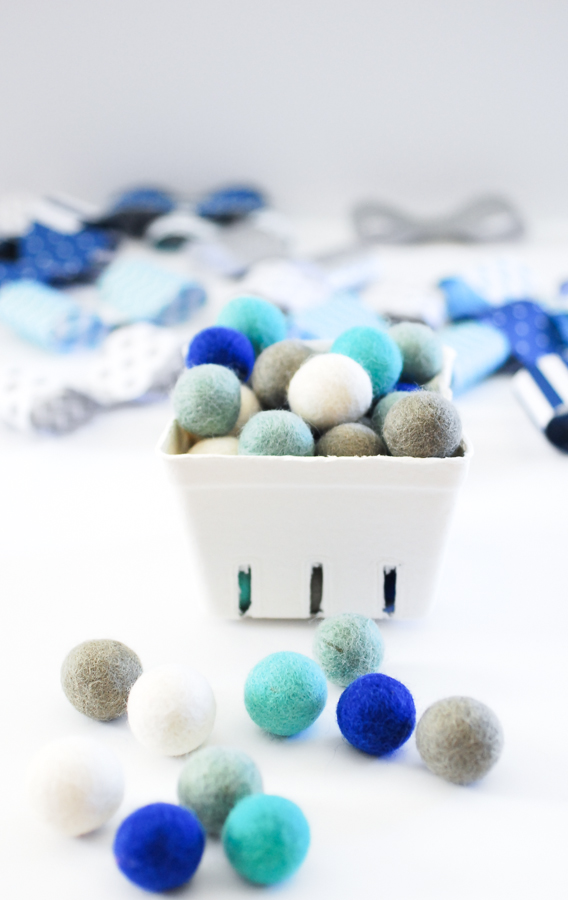
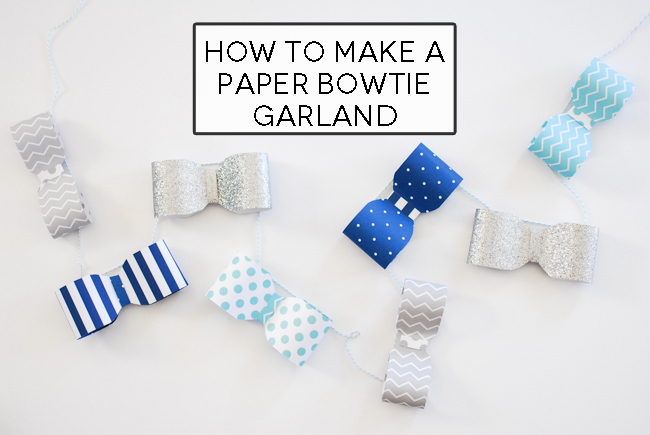
I’ll be using the tissue tassel garland as decor but wanted to add some additional DIY elements as well, including this fun paper bowtie garland in a coordinating color scheme and a colorful felt ball garland as well. You can never have too many garlands in my opinion!
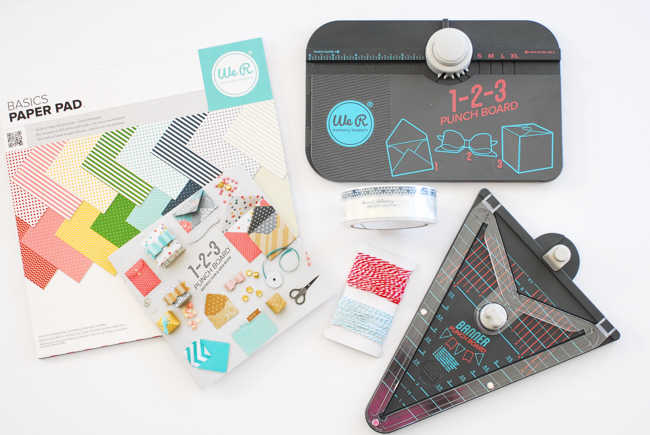
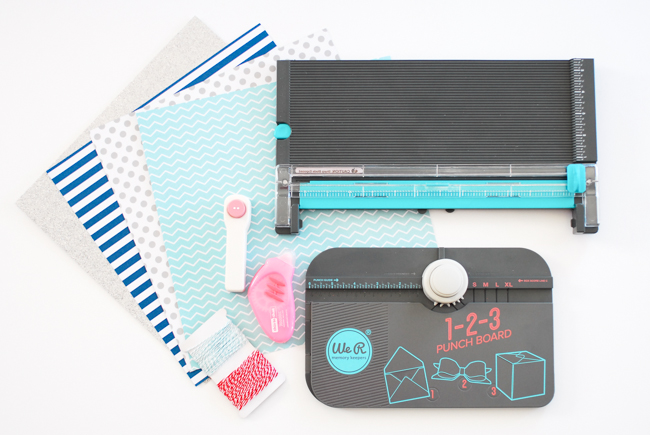
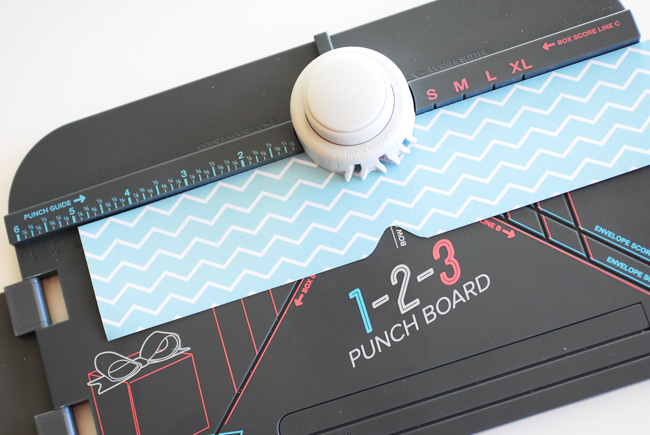
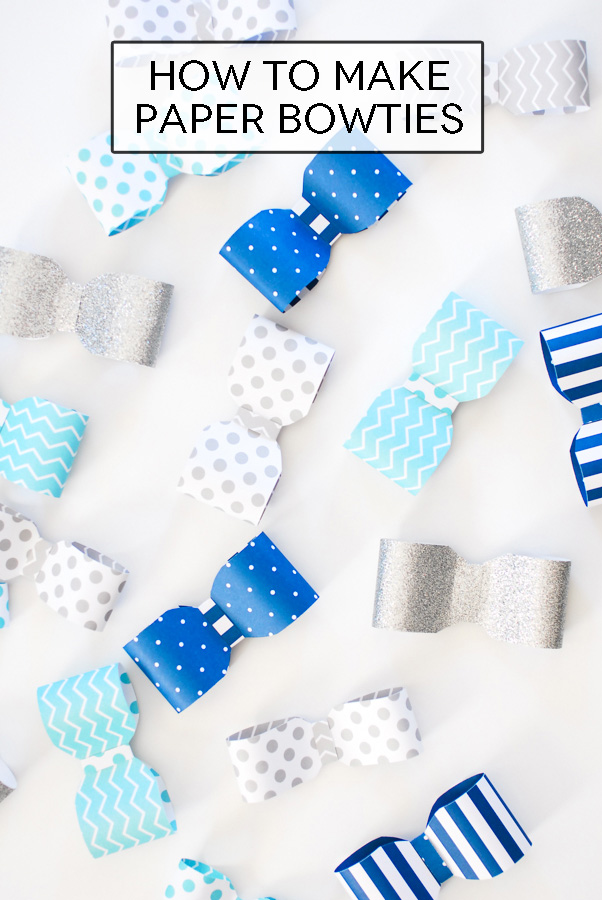
To make my paper bowtie garland I used supplies that came in this fun new punch board party pack from We R Memory Keepers. You guys, this kit is AMAZING! It comes with everything you see above: 123 punch board, banner bunch board, twine, packing tape, 12×12 patterned paper pad and a project idea book. You know how much I love to make bows & banners for parties (as evidenced here and here and here) and this kit will make those things PLUS envelopes, envelope liners and boxes – so fun!!
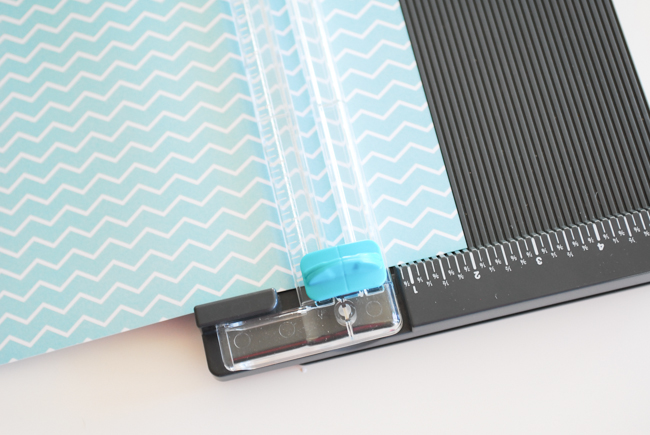
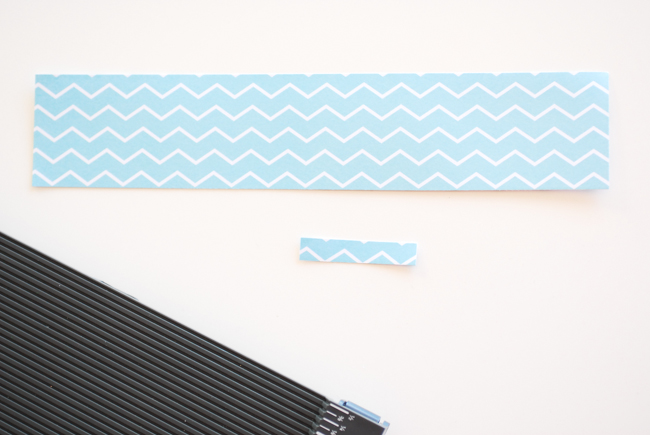
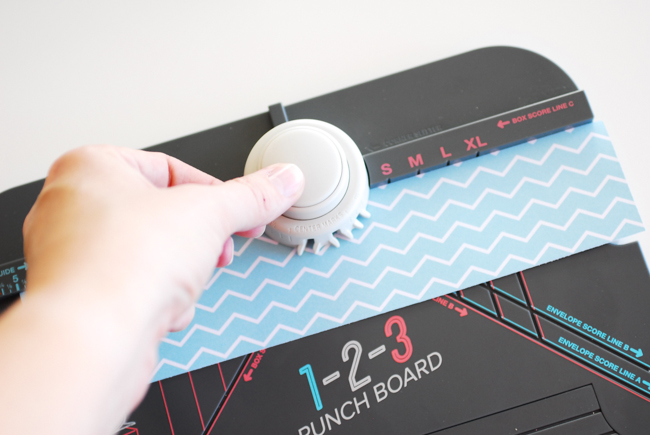
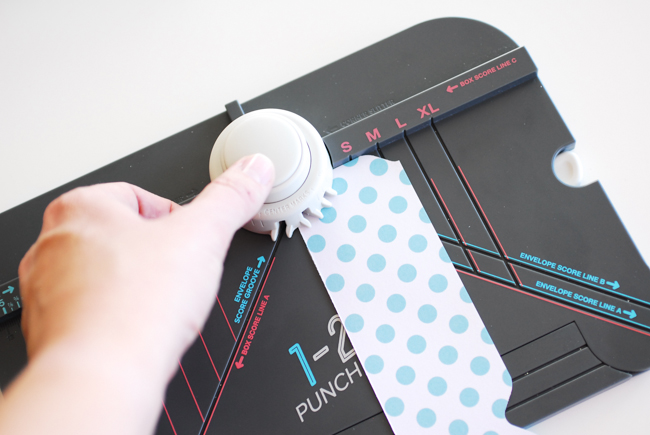
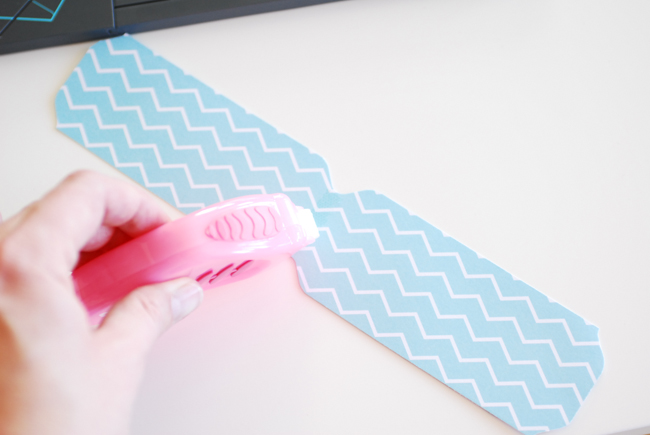
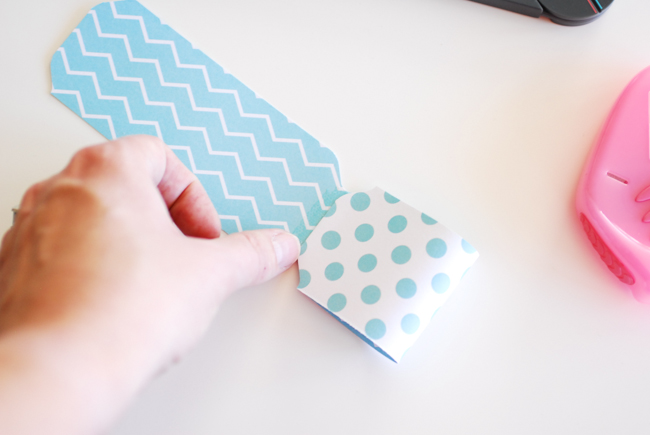
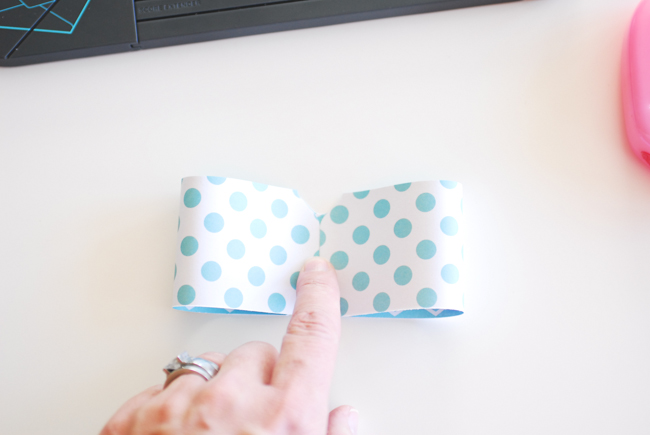
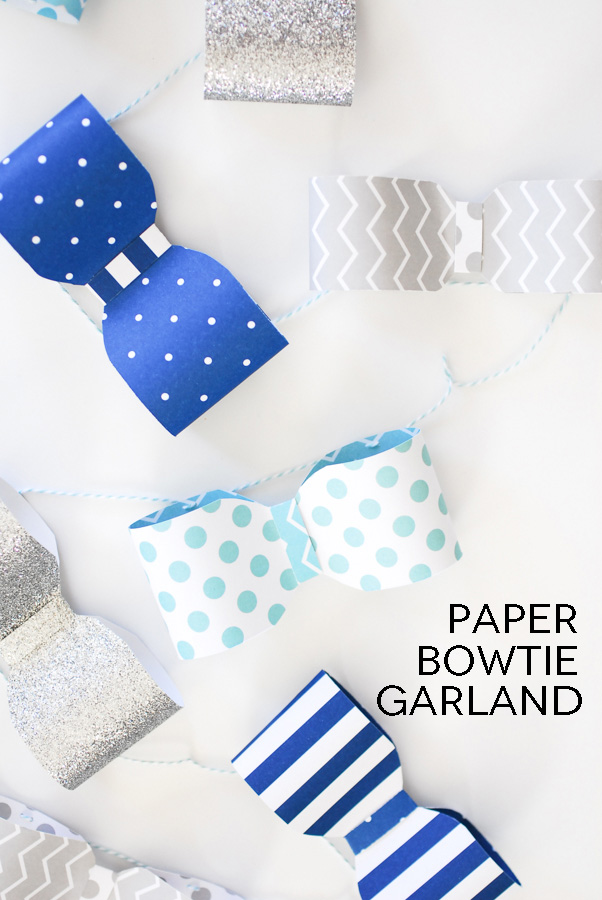
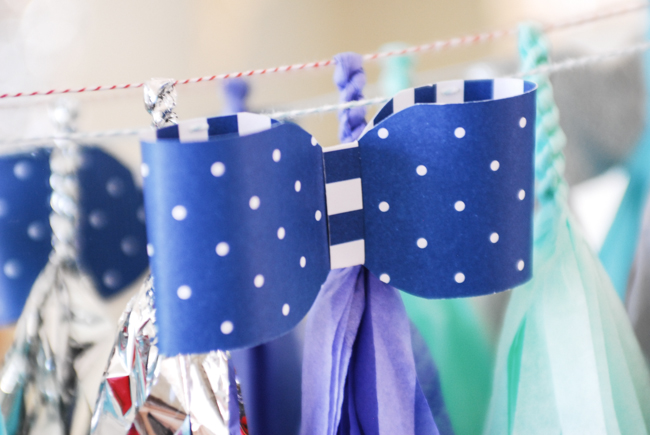
And here are the specific supplies I used for my paper bowtie garland: paper trimmer, 123 punch board, 12×12 paper, twine, adhesive and a small 2 hole punch. All instructions for making 6 different sizes of bows are included and they were very easy to make. The instructions tell you how to make a more fancy bow, but since I’m making bowties I eliminated 1 piece of paper and 1 step in the process. The basic steps are shown below.
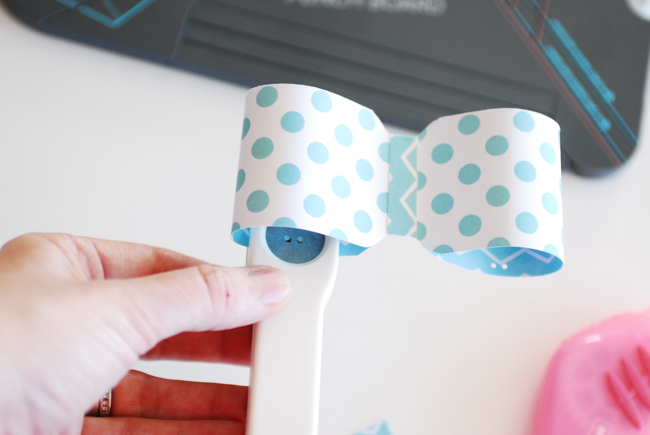
Here’s where I used my little 2 hold punch to create holes for my twine to string through.
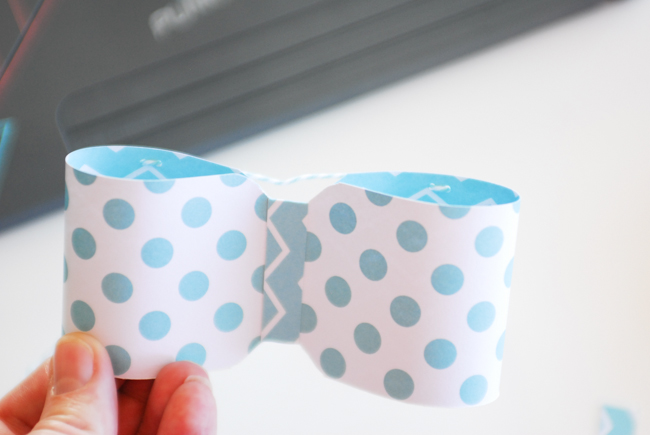
And here’s my twine strung through the holes on my bow. Just keep making bows and stringing them onto the twine to create the length you need.
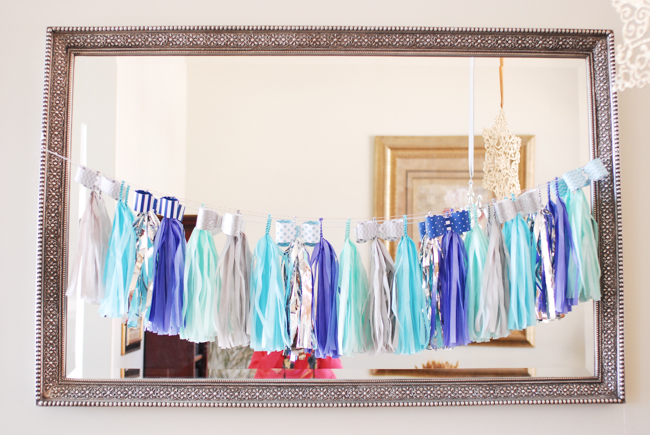
I hung my tissue paper tassel garland over my mirror in my entryway and added the bowtie garland and felt ball garlands on top of it. But they’ll all be coming to the baby shower with me next week!
The awesome We R Memory Keepers 123 Punch Board Party Kit is available to buy exclusively on HSN next Tuesday March 24th so set your alarms and head on over there Tuesday! The kit is a one time special and will be discounted below retail pricing.
I can’t wait to make the banners, envelopes & boxes with my punchboards next!
The post How to Make a Paper Bowtie Garland appeared first on Paper Crush.
]]>Yesterday I shared my son’s blue & aqua baptism brunch, and today I thought I’d show you how I made the little necktie bunting I used on the donut cake. In case you haven’t noticed I kind-of have a thing for little buntings on cakes, as evidenced by this rainbow cake with a Happy Birthday […]
The post Necktie Bunting Tutorial appeared first on Paper Crush.
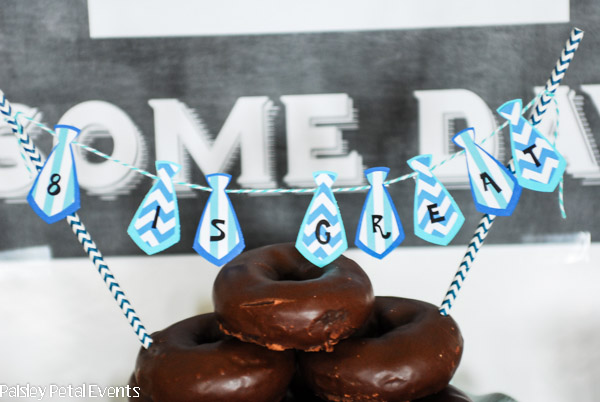
]]>Yesterday I shared my son’s blue & aqua baptism brunch, and today I thought I’d show you how I made the little necktie bunting I used on the donut cake. In case you haven’t noticed I kind-of have a thing for little buntings on cakes, as evidenced by this rainbow cake with a Happy Birthday bunting, this simple washi tape bunting, and then this cute mini tissue tassel bunting. I like buntings because they’re usually pretty quick to make and they just add so much to a simple store-bought cake (or donut cake).
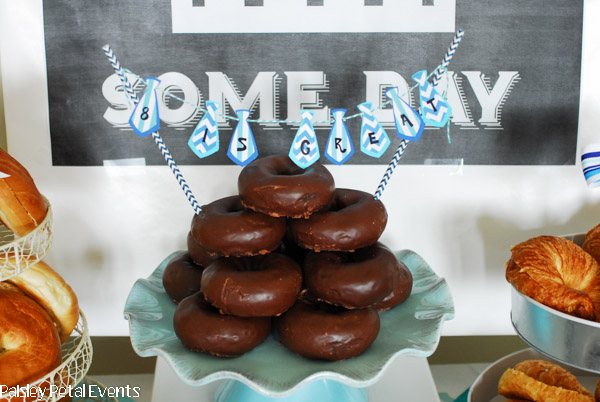
Logan loves chocolate donuts so I knew we’d be having a donut cake at our baptism brunch. I just embellished it with a mini necktie bunting, to dress it up a bit. You could use this for a little man birthday party or any boy themed party, really.
You only need a couple of things to create this banner: patterned paper, plain cardstock, straws (or bamboo skewers), twine and small letter stickers.
First I cut mini neckties out of colored cardstock about 2 1/4 inches long by 1 1/4 inches wide using my Silhouette machine. Then I cut out the smaller, patterned ties, which were about 2″ long by 1 inch wide. I used a glue stick to attached the 2 pieces together. If you don’t have a cutting machine, simply create a mini tie pattern and trace as many as you need for your bunting.
Use your stickers to spell out the saying for your bunting. Attach the neckties to your twine with tiny pieces of tape on the back. Tie the twine to your straws (or bamboo skewers) and insert into your cake or whatever else you want to embellish!
You’re done! A simple and easy way to dress up any cake or dessert for your next celebration!
So what about you?? Do you ever use little buntings or something similar to dress up store-bought items?? I’d love to hear in the comments below!
The post Necktie Bunting Tutorial appeared first on Paper Crush.
]]>For today’s post you get another party from last year…I’m slowly getting them all posted – I might only have about 3 more to go! Today I’m sharing my son Logan’s Baptism Brunch. In our church, kids are baptized when they turn 8 years old and his baptism was held in the morning, so a […]
The post 8 is Great Baptism Brunch appeared first on Paper Crush.
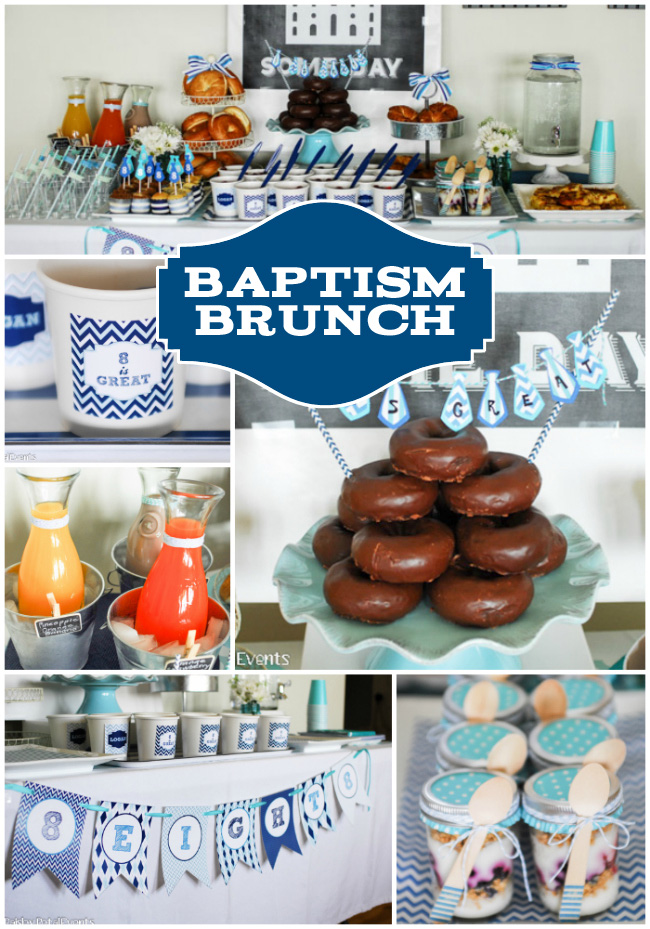
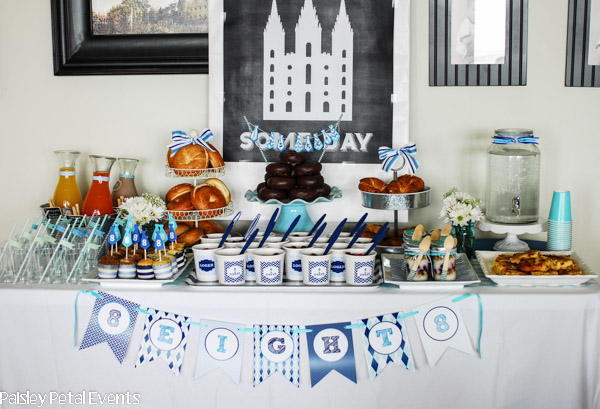
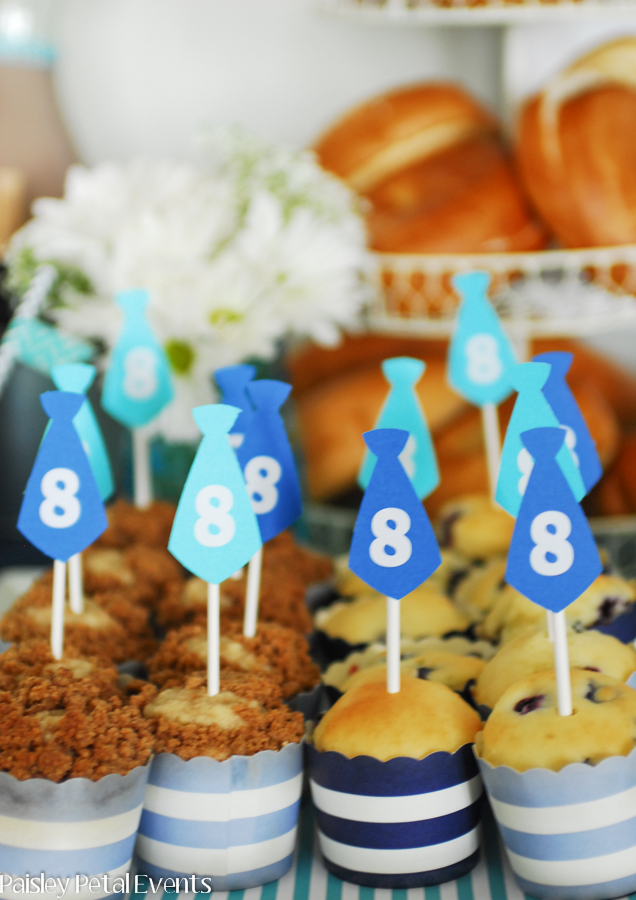
]]>For today’s post you get another party from last year…I’m slowly getting them all posted – I might only have about 3 more to go! Today I’m sharing my son Logan’s Baptism Brunch. In our church, kids are baptized when they turn 8 years old and his baptism was held in the morning, so a baptism brunch only seemed appropriate. I was actually really excited because I haven’t done a brunch event before. I chose different shades of blue and aqua for the color scheme with neckties adding a fun element to the food table.
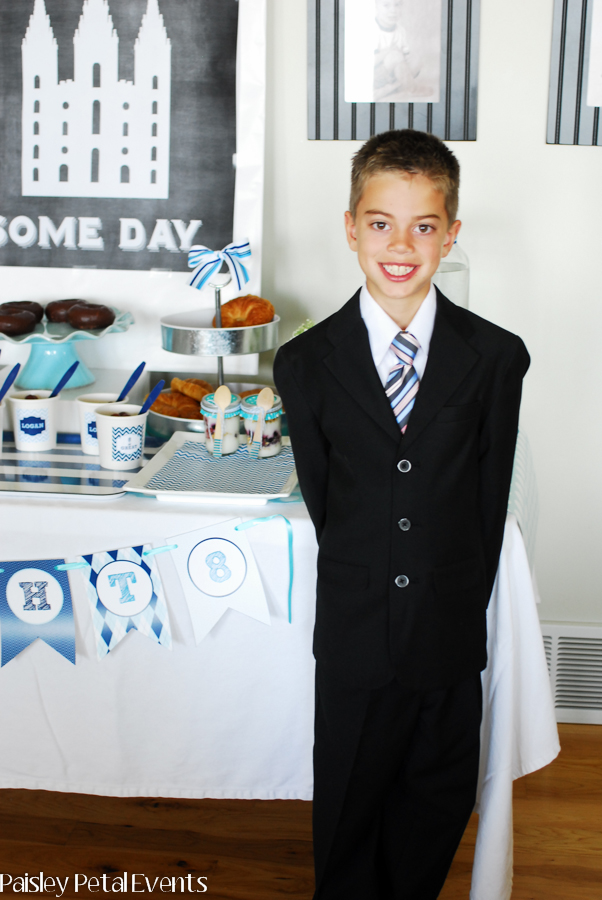
At the back of my food table, I created a black & white chalkboard print with the shape of a temple on it and the words “I’m Going There Someday” as a reminder of what the kids should be looking towards. This large black and white image can be printed for only a few dollars at print shops with engineering prints available (such as Staples).
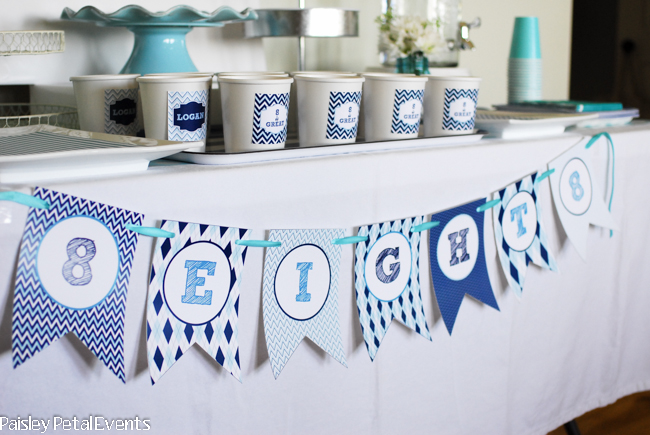
I created a printable banner spelling out the number 8 to drape across the front of the food table.
At the center of the food table was one of Logan’s favorite treats – a donut cake on my favorite aqua ruffled cake plate, along with a mini necktie bunting which said “8 is Great”. I’ll share how to make this cute little bunting tomorrow.
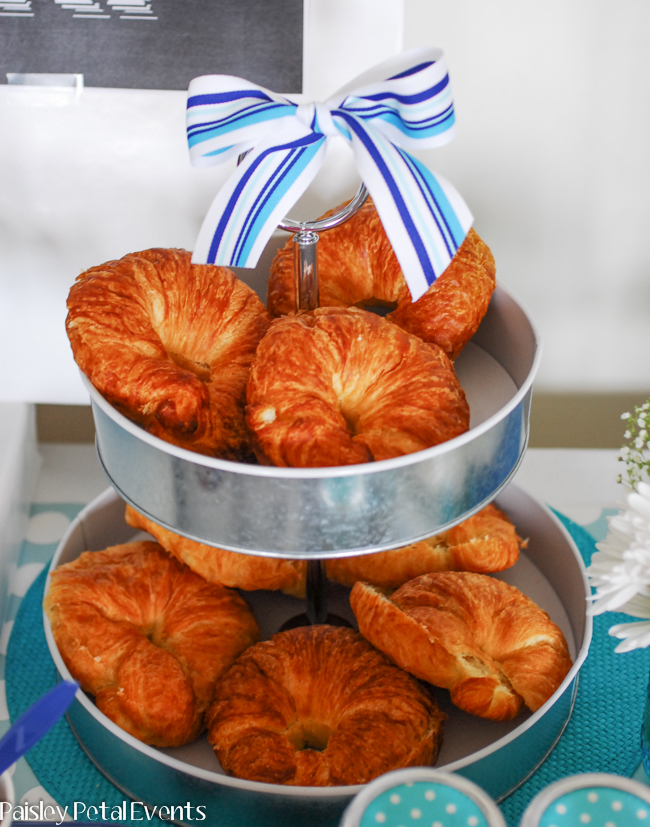
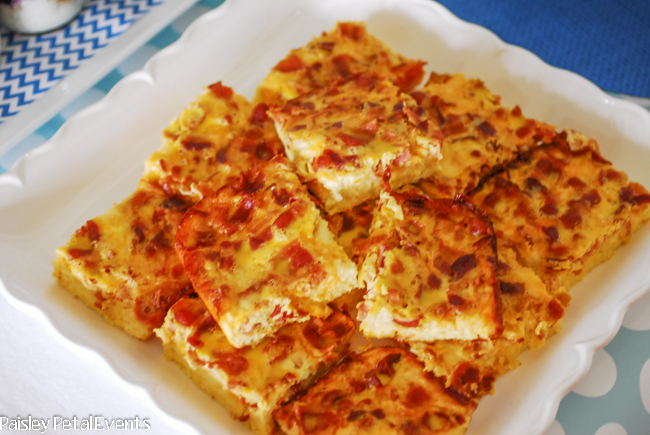
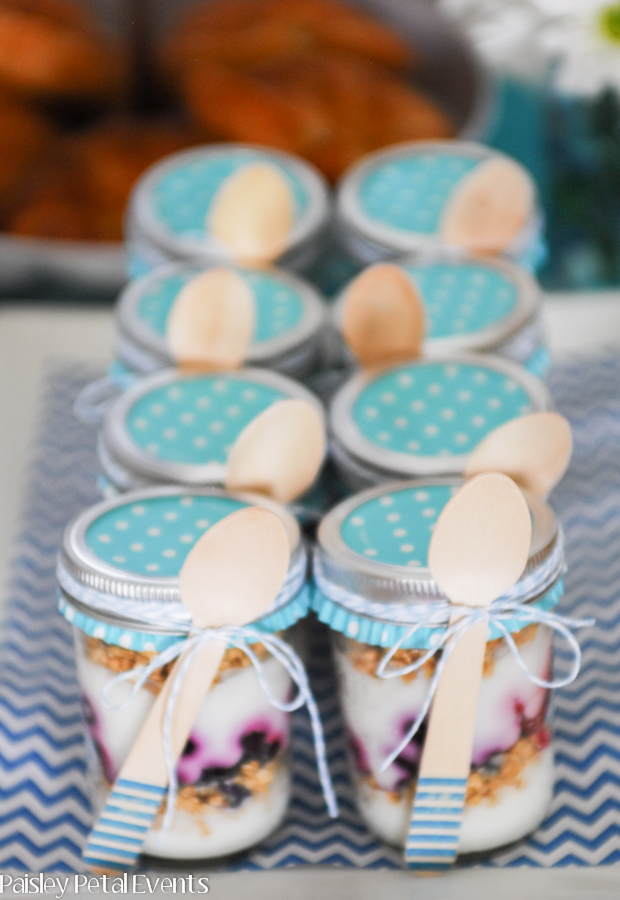
At our brunch we served a breakfast casserole on your choice of croissants or bagels, fruit and yogurt parfaits in mini mason jars and homemade muffins with necktie toppers.
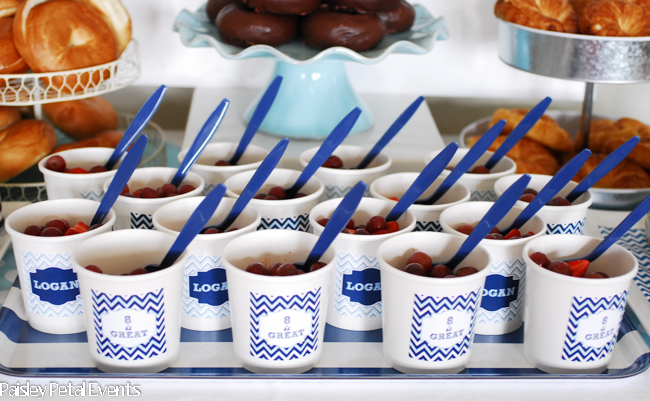
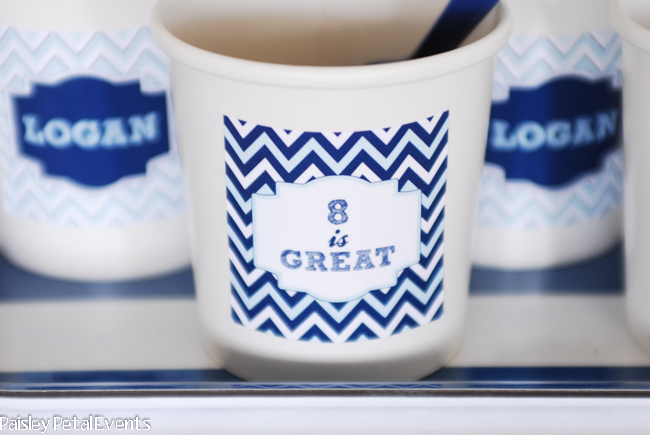
We also served fruit in white paper cups and I made a little sticker to go on each cup that coordinated with the banner.
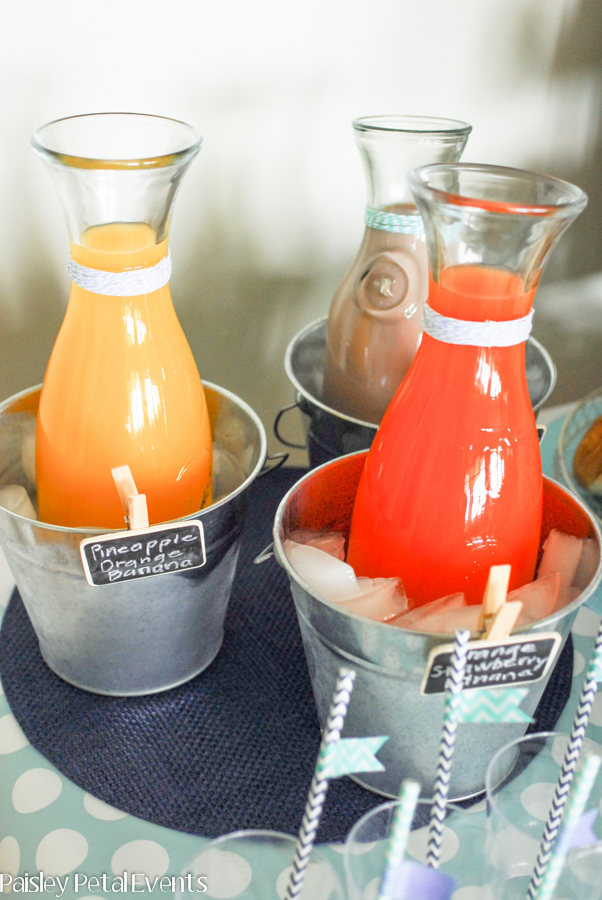
Guests could choose from a couple different juices and chocolate milk to drink – Logan’s favorite! Drink cups were adorned with a matching straw & washi tape flag.
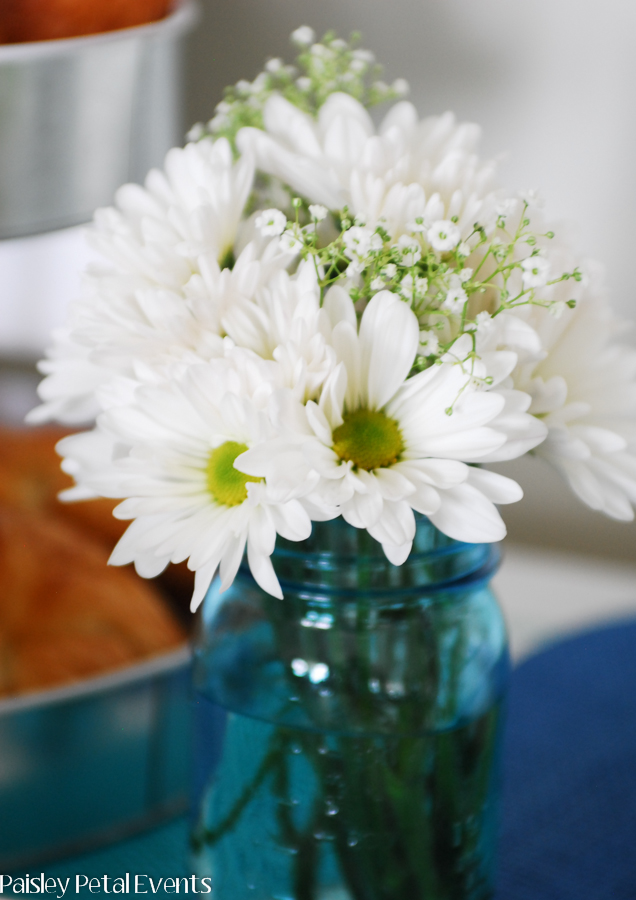
I added 2 blue mason jars filled with white daisies to the table for a little warmth.
And here’s my sweet Logan on his special day – smiling big, as always ![]()
If you’re interested in a PDF of the EIGHT banner or the black & white temple print, let me know in the comments below, or shoot me an email – [email protected] and I’d be happy to send you the files!
The post 8 is Great Baptism Brunch appeared first on Paper Crush.
]]>I hope you had a nice President’s Day yesterday – I was able to get some cleaning done and it felt great!! I’m sharing (finally!) another party I did last year for a client – a Dr. Seuss baby shower. My client was throwing a baby shower for her daughter who was having her first […]
The post Dr. Seuss Baby Shower appeared first on Paper Crush.
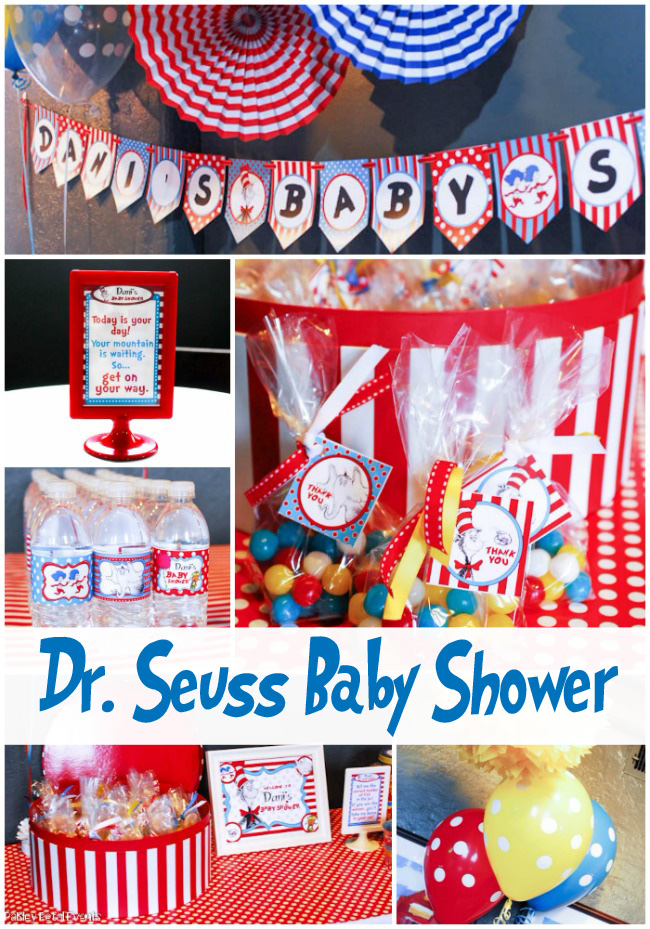
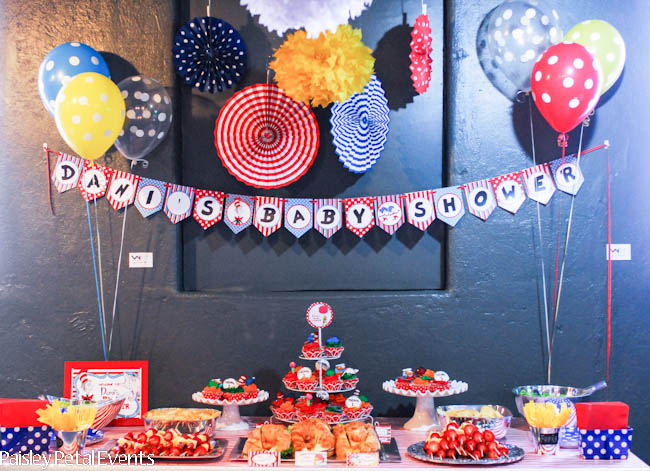
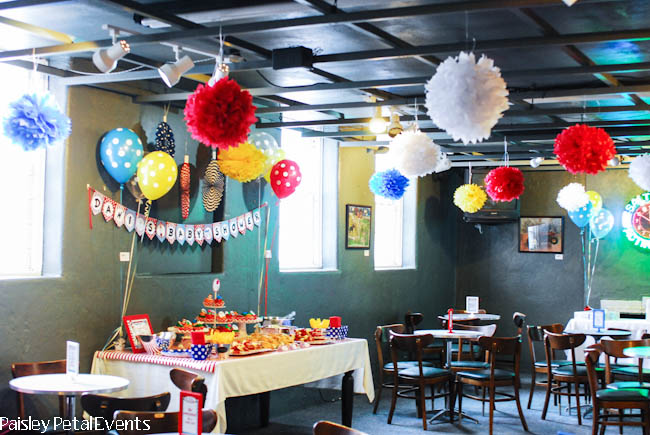
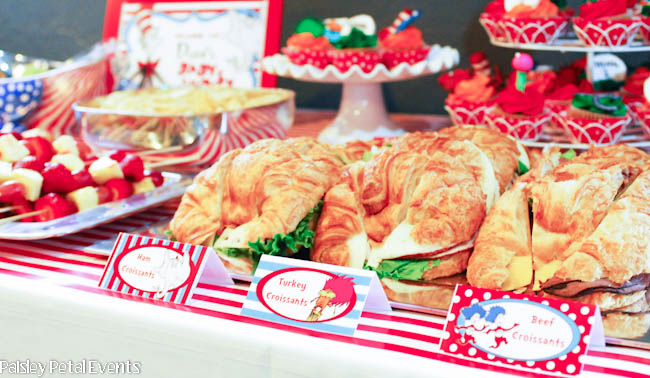
]]>I hope you had a nice President’s Day yesterday – I was able to get some cleaning done and it felt great!! I’m sharing (finally!) another party I did last year for a client – a Dr. Seuss baby shower. My client was throwing a baby shower for her daughter who was having her first baby (a boy) and she chose a Dr. Seuss theme. We used the traditional Dr. Seuss color scheme – red, blue, white & yellow with stripes and polka dots.
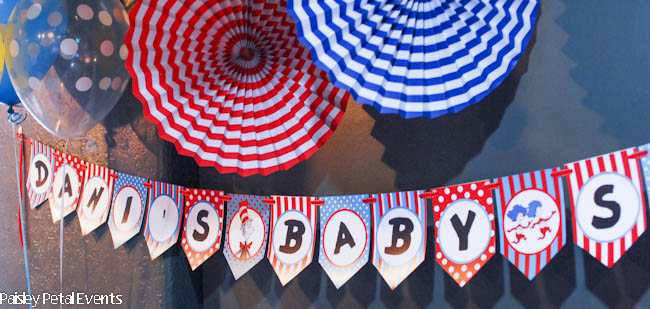
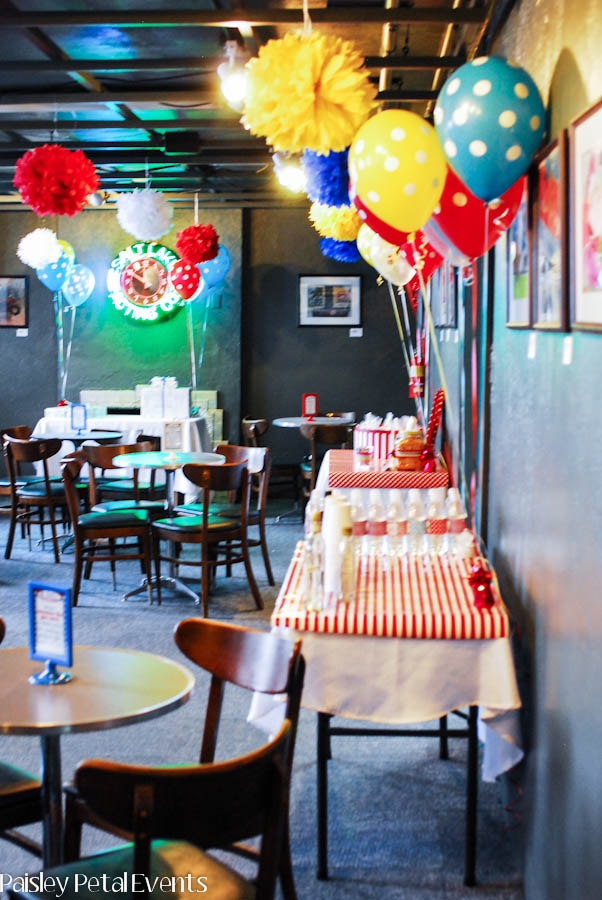
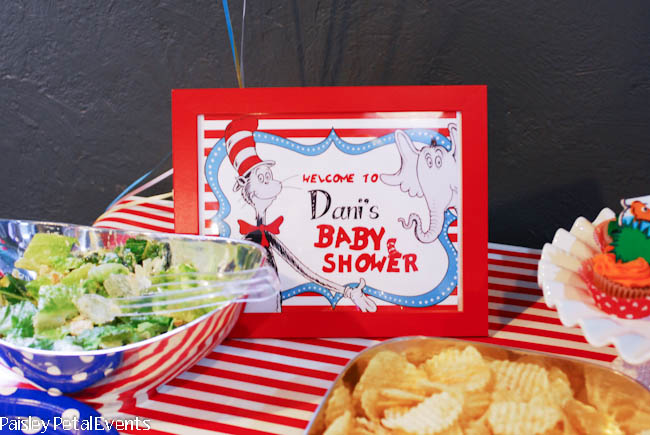
The baby shower was held at the Salt Lake Acting Company building, which is a cool, historic building downtown. The party was in the basement where people can go after the shows to have a drink, mingle, etc. Not the best for pictures, but a very fun location. The room was decorated with color coordinating polka dot balloons and tissue poms hanging from the ceiling. The “must-have” welcome banner hung above the food table, with polka dot balloons, tissue poms and paper fans adding to the decor around the table.
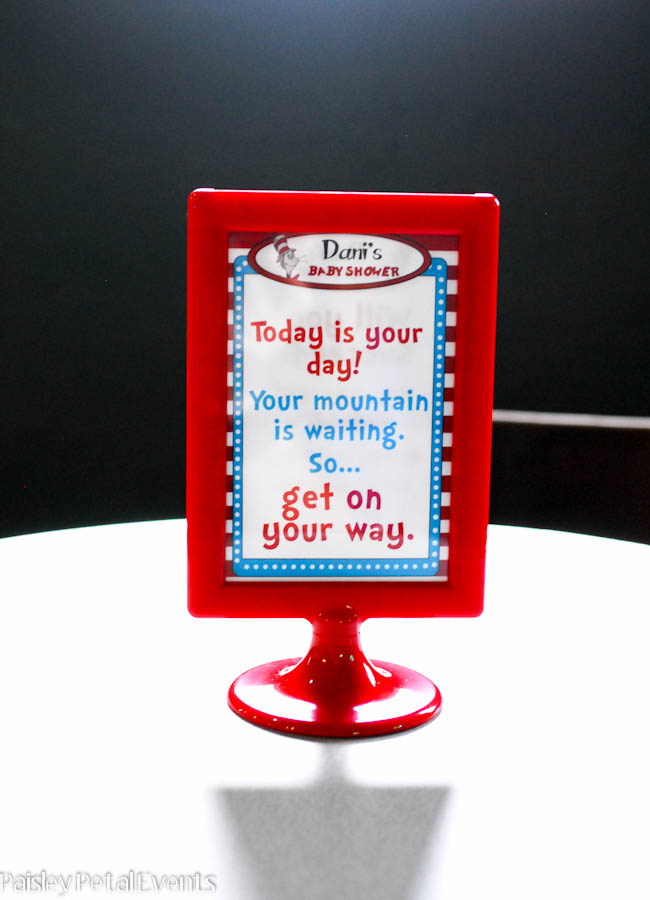
On each table, I placed various framed Dr. Seuss quotes.
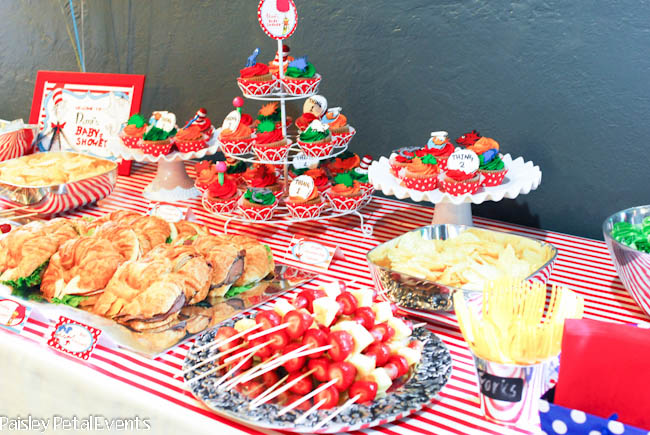
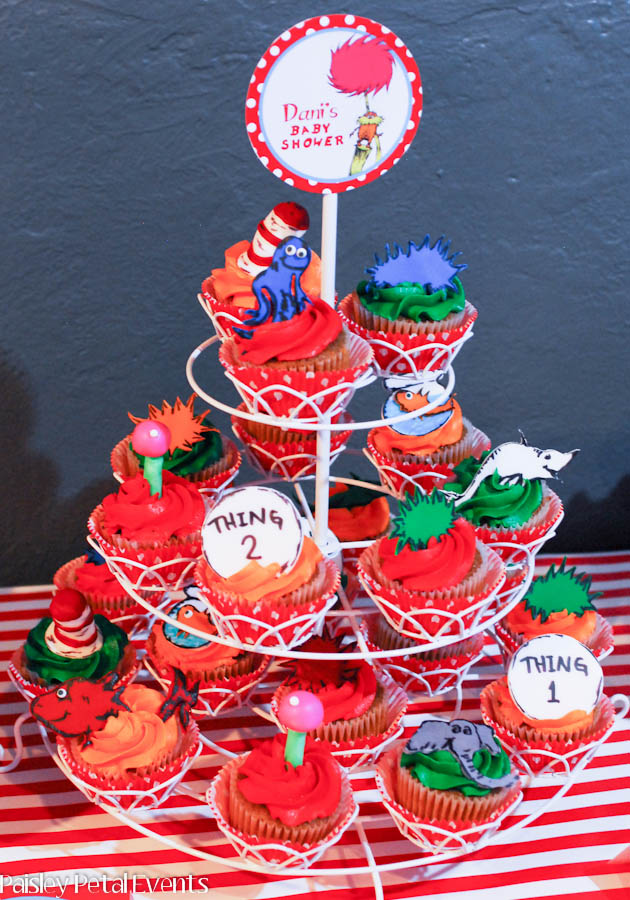
The food table included croissants, fruit skewers, salad, chips and cupcakes for dessert.
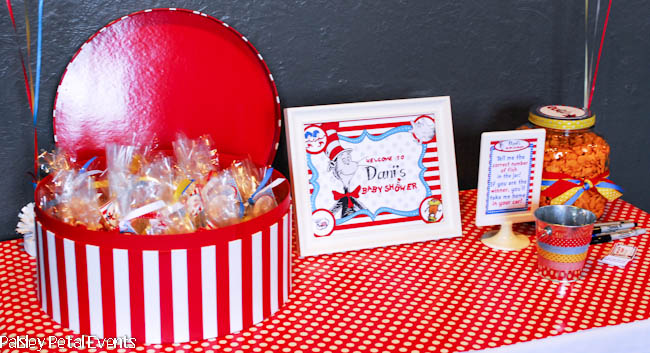
As guests entered the room, there was a small table with a little game to play. We had a big jar full of Pepperidge Farm goldfish and guests could guess how many goldfish were in the jar – whoever came closest got to take the jar home. A made a little sign with the saying “Tell me the correct number of fish in the jar! If you are the closest, you’ll take me home in your car!” There were little slips of Dr. Seuss themed paper to write their guess on and a little container to put them in.
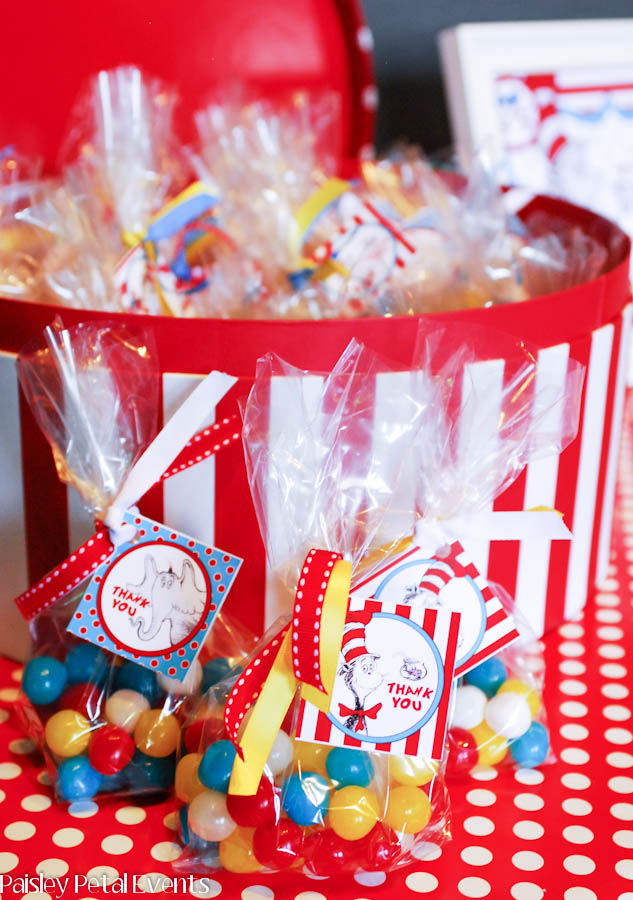
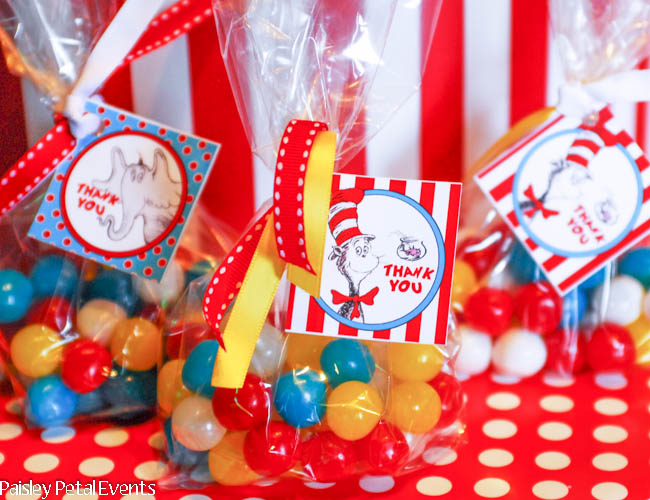
For favors, guests took home a small bag of coordinating sour balls with a cute matching tag.
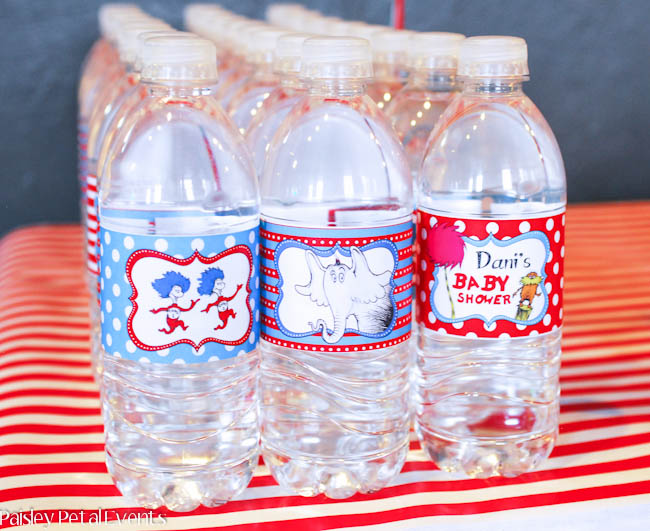
And of course, we had to have some Dr. Seuss themed water bottle wraps!
Vendors
Party printables (signs, drink wraps, banner, etc.) – Splashbox Printables (unfortunately it doesn’t look like she still sells the Dr. Seuss theme)
Cupcakes – Sprinklebelle Cakes
The post Dr. Seuss Baby Shower appeared first on Paper Crush.
]]>I’ve been meaning to post this party forever so I’m finally just doing it! I’m going to try and get all the other parties I did last year posted as well so be prepared for party overload – sorry! My cute sister-in-law created this Minecraft party for her 5 year old son who is totally […]
The post Featured Party – Minecraft Party appeared first on Paper Crush.
]]>I’ve been meaning to post this party forever so I’m finally just doing it! I’m going to try and get all the other parties I did last year posted as well so be prepared for party overload – sorry! ![]()
My cute sister-in-law created this Minecraft party for her 5 year old son who is totally obsessed with Minecraft. I’m sure many of you can relate to Minecraft-obsessed kids, huh?!
One of my favorite elements was this cool creeper made out of paper plates – genius! And of course, the tissue tassels are awesome too.
This fun banner hung in the party area.
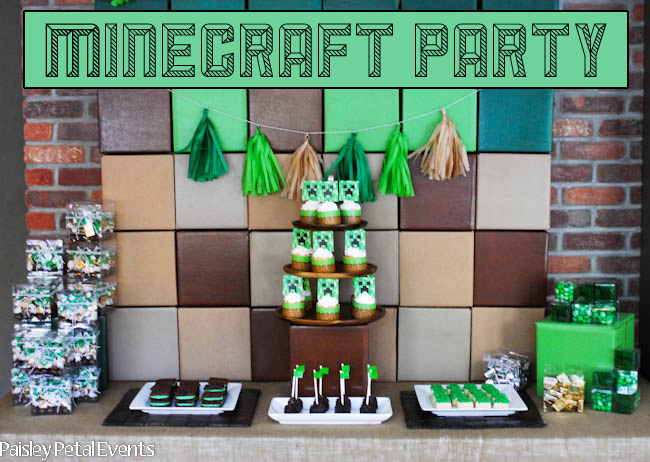
The backdrop for the dessert table was made out of spray painted cardboard boxes in coordinating Minecraft colors.
Desserts included cupcakes with Creeper toppers & coordinating wraps, chocolate cake pops, yummy homemade oreo cookies (as our family calls them) and grass covered rice krispie treats.
For favors, the guests could take home various types of Minecraft-inspired candy packaged in clear square boxes such as gold & silver Hershey nuggets, shades of green M&M’s and green gummy bears.
I love how she decorated a simple white cake with the fun banner and creepers!
Hopefully you got some fun ideas to help you plan those upcoming Minecraft parties for those Minecraft-obsessed kids! ![]()
The post Featured Party – Minecraft Party appeared first on Paper Crush.
]]>This post is way overdue, but I’m finally posting pics of the Circus Birthday Party that my amazing sister in law created for her daughter turning 6 last year. She always comes up with the cutest decorating ideas and fun activities! This cute printable sign welcomed the sweet little guests. All of the party areas […]
The post Featured Party – Circus Birthday Party appeared first on Paper Crush.
]]>This post is way overdue, but I’m finally posting pics of the Circus Birthday Party that my amazing sister in law created for her daughter turning 6 last year. She always comes up with the cutest decorating ideas and fun activities!
This cute printable sign welcomed the sweet little guests.
All of the party areas were decorated to look like a real circus tent – so fun! She used plastic tablecloths to create the red and white big top and other party stations.
When the girls arrived at the party, they were given a bucket to collect their tickets from the various games. There were some fun, circus games such as fishing, bean bag toss, darts and more. The girls received tickets from the games and after they all played, they were able to redeem their tickets for prizes from the fun prize board!
After all the games and prizes, a face painter came and painted all the girls’ faces – they were so adorable!
Then it was time to enjoy all the fun treats from the dessert table!
Perfect centerpieces – a basket of peanuts.
All the girls had a fabulous time at the party!
Vendors:
Party Printables – DimplePrints
Cupcake toppers – Sprinklebelle Cakes
The post Featured Party – Circus Birthday Party appeared first on Paper Crush.
]]>I’ve been meaning to share these pics with you for a while now and I’m finally doing it!! Erika from SourPunch Studio contacted me to style some really fun printables she created with a Monster Mash party theme and I had such a great time! The colors and designs are so bright and fun with […]
The post Not So Spooky Monster Party appeared first on Paper Crush.
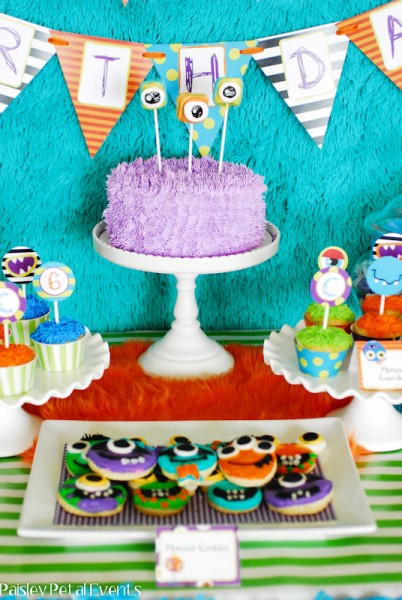
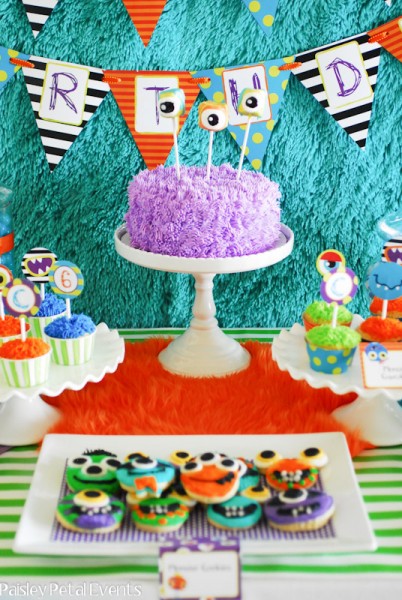
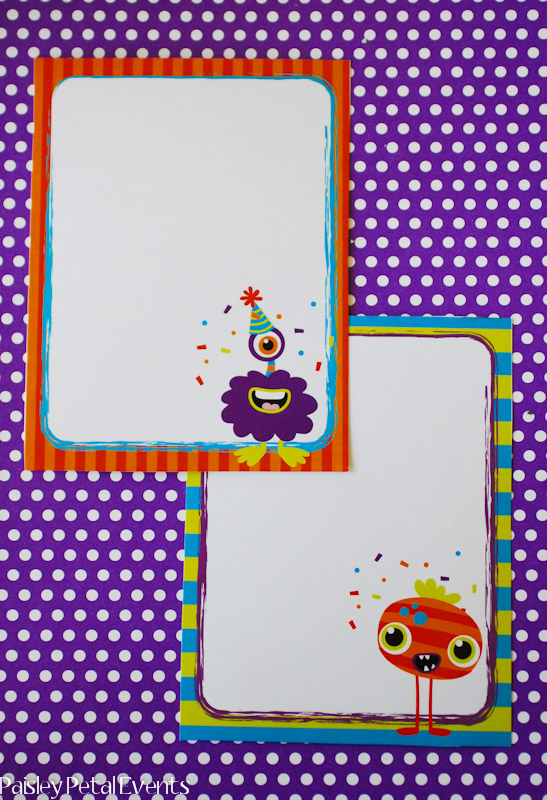
]]>I’ve been meaning to share these pics with you for a while now and I’m finally doing it!! Erika from SourPunch Studio contacted me to style some really fun printables she created with a Monster Mash party theme and I had such a great time! The colors and designs are so bright and fun with playful little monster, eyeballs & monster mouths! These printables are obviously meant for a birthday party, but I think they would work great for a not-so-spooky Halloween party for the little ones as well!
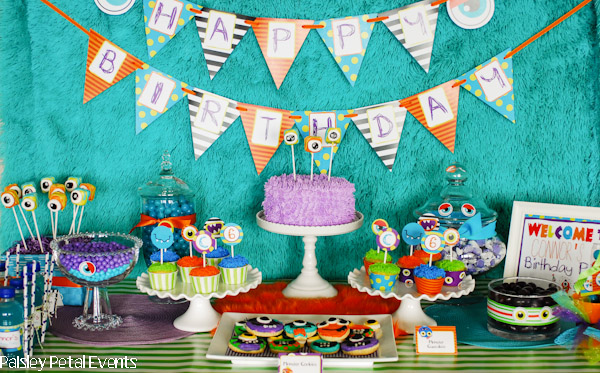
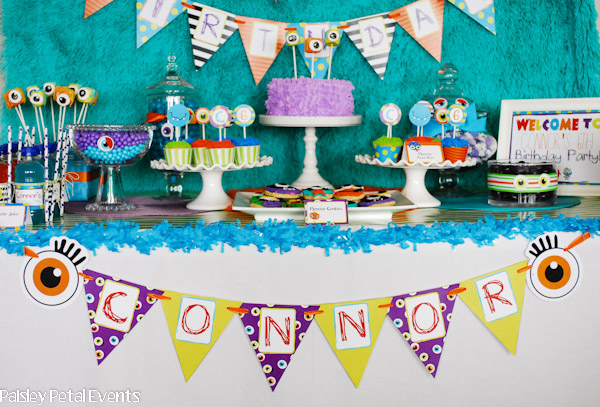
I started with a fun backdrop that is actually a furry blanket I borrowed from a friend. She found it at Sam’s Club last year and used it for an adorable monster party she created for her twins. I covered the table with a simple white table cloth but added green and white striped wrapping paper on top for a little more color along with some coordinating placemats.
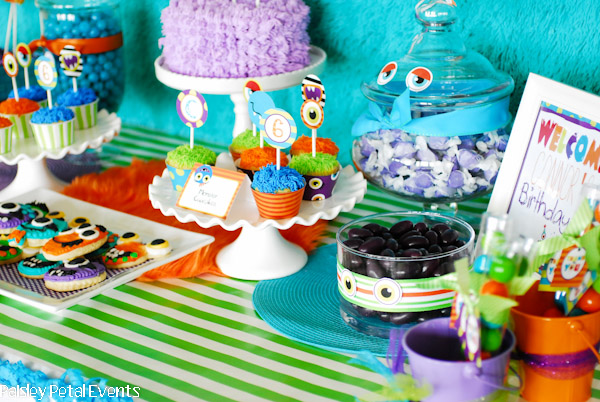
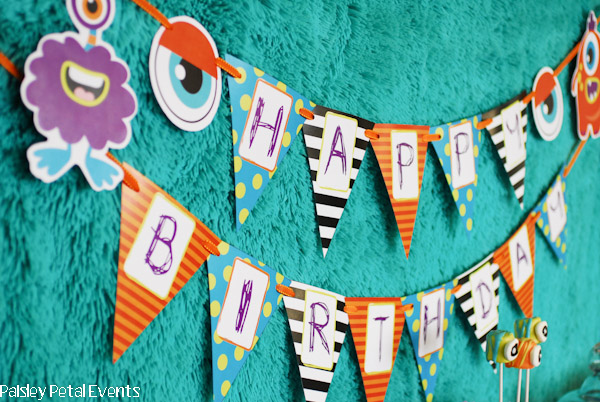
I used the cute monster cutouts from Erika’s collection to the ‘Happy Birthday’ banner on the backdrop as well as some googly eye cutouts surrounding the birthday boy’s name banner along the front of the table. Eyeball cutouts were used to add some spook to all the candy jars as well.
At the center of the table was a simple cake I ordered from the grocery store. I requested they make the purple “hair” and then I added the monster eyeballs.
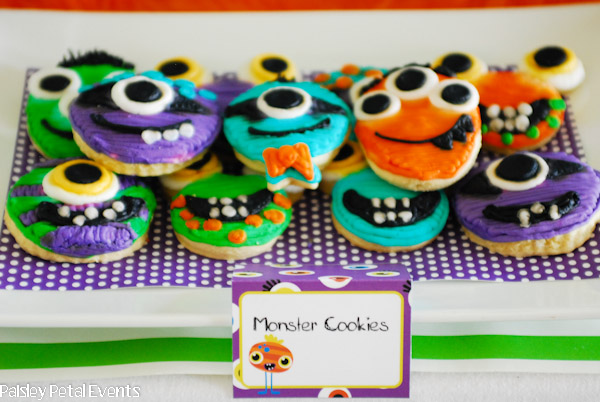
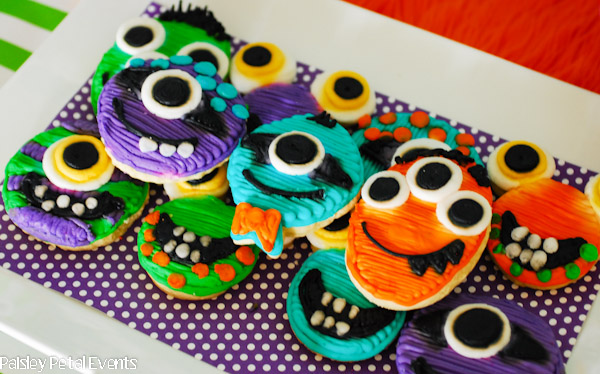
Other desserts included darling monster sugar cookies I ordered from the local sugar cookie lady. That’s really what she goes by!
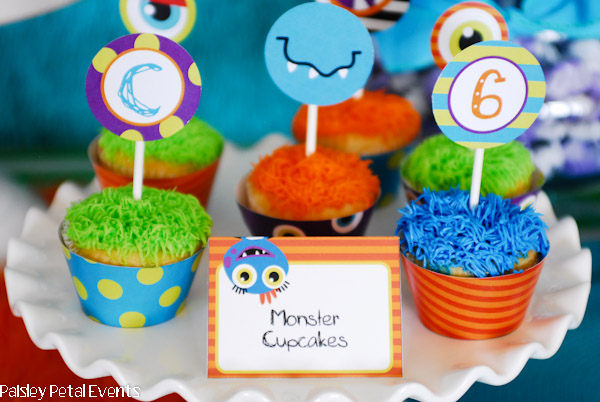
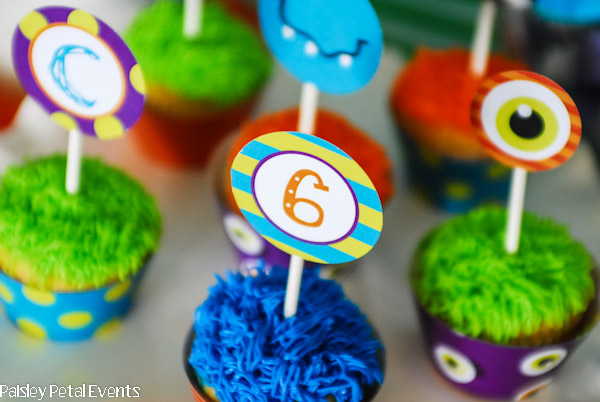
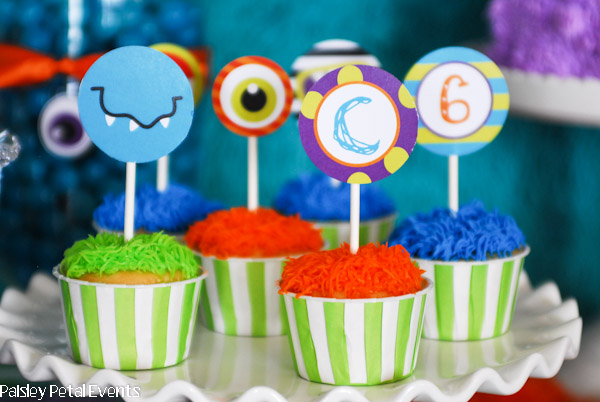
I also ordered cupcakes from my local grocery store and again requested the ‘hair’ frosting in coordinating colors. Cupcake wrappers and 2″ circles from the party collection were added to the cupcakes. I love the mouth and eyeball toppers!
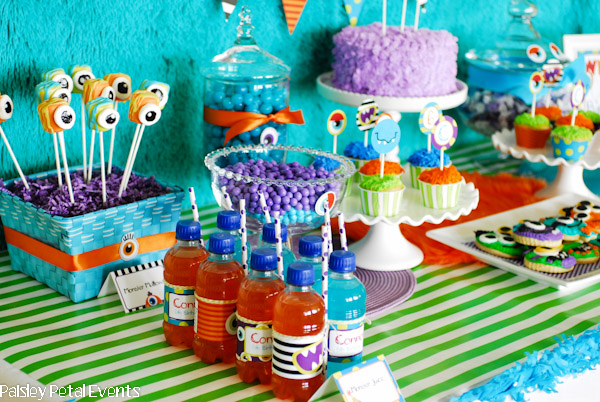
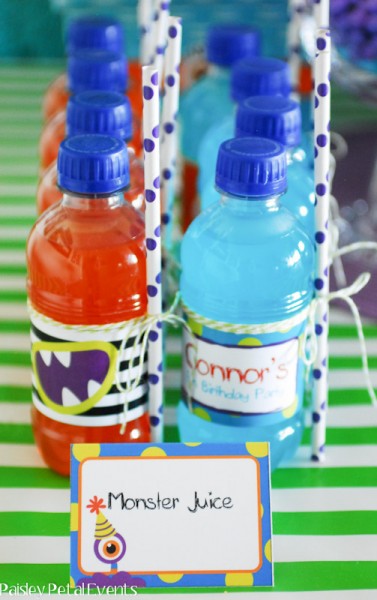
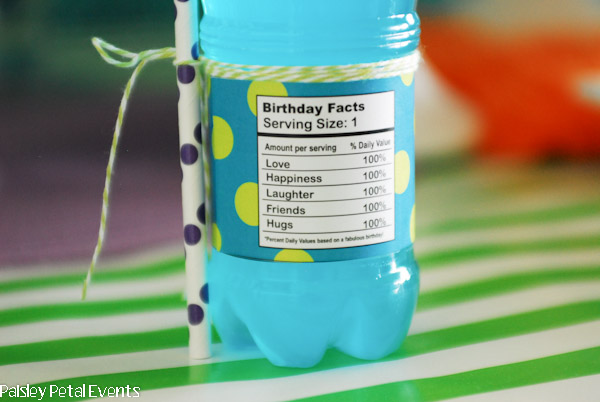
Fun drink wraps were added to flavored juice bottles and baker’s twine was used to tie on the matching purple polka dot straw.
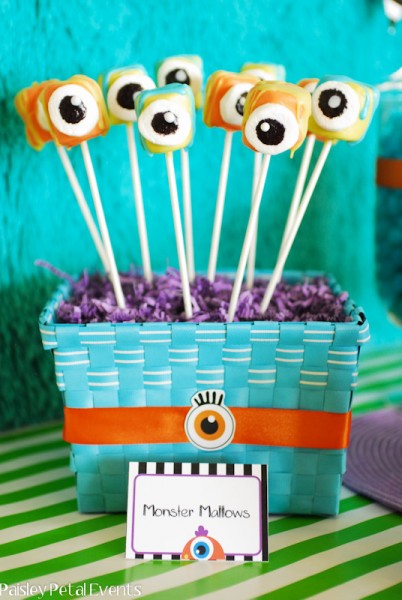
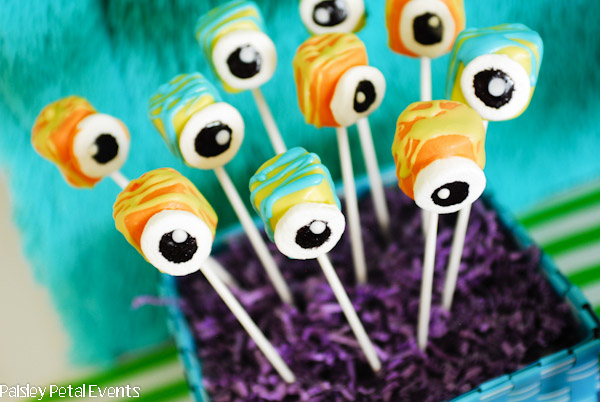
I made Monster Mallow eyeballs to go along with the printable designs using candy melts and decorating gel. I’ll be posting a tutorial on how I made them soon! ![]()
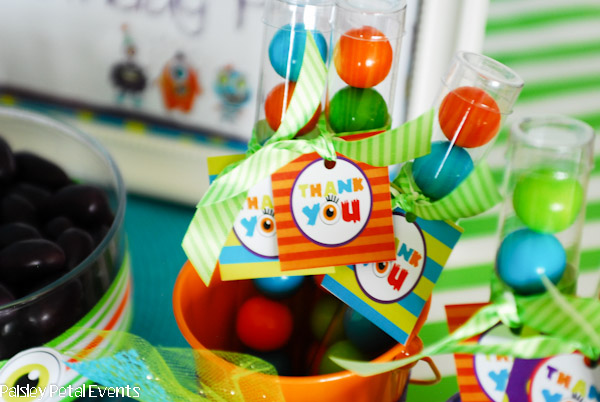
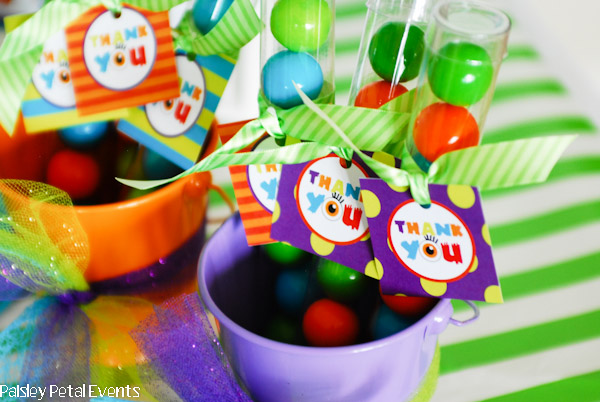
For simple favors, a thank you tag was attached to a tube of gumballs in matching party colors.
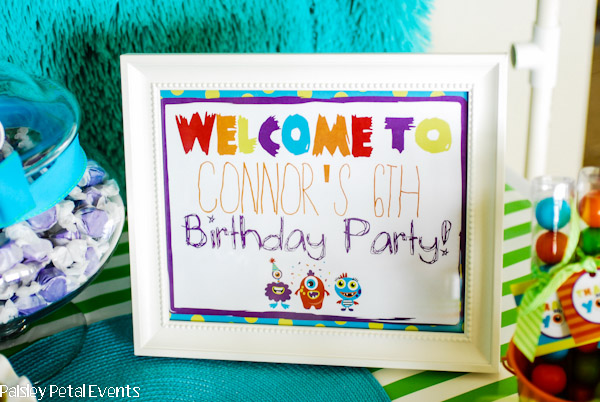
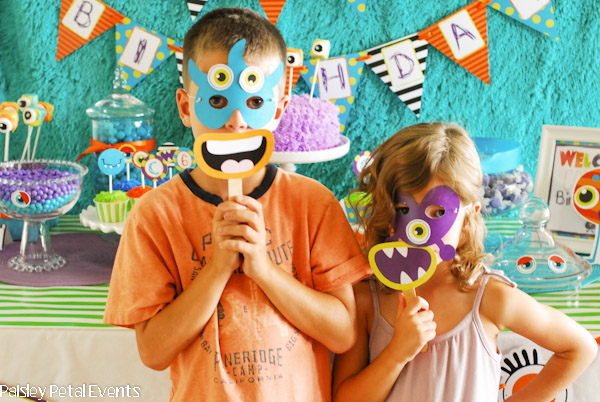
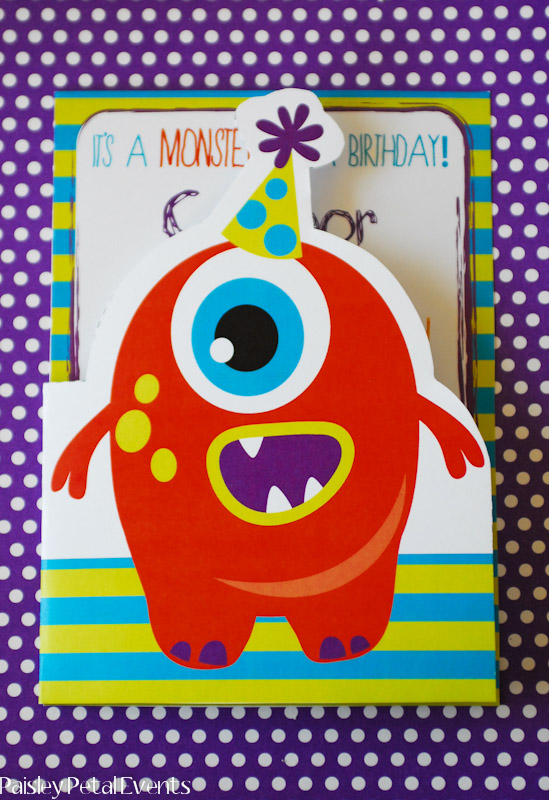
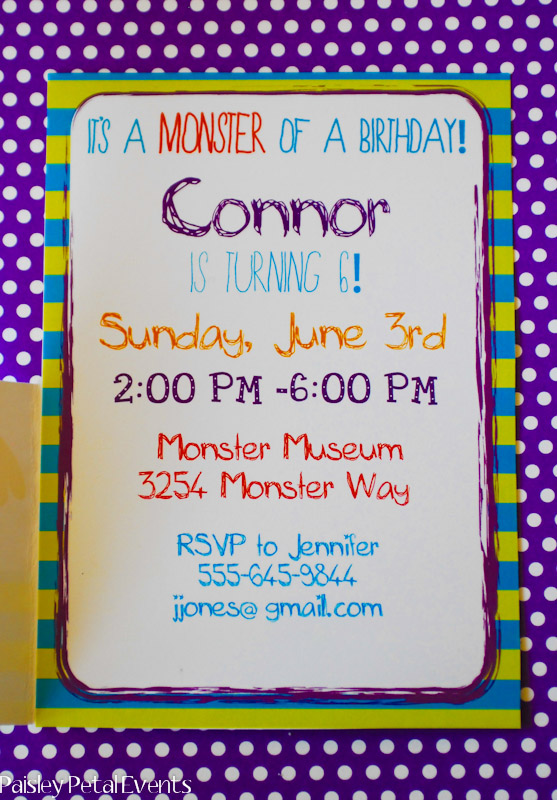
Other printable items in the collection include the customized welcome sign, cute masks and mouths for the kids to wear (perfect for a photo booth!), the darling invitation and thank you cards.
Doesn’t this make you want to throw a not-so-spooky Halloween party now?! My favorite thing about Erika’s designs, besides how amazing they are, is that they are customizable, which means you can add whatever wording you want to tent cards, signs, invitations, etc. I LOVE that!!
You can find this Monster Party collection in her Etsy shop HERE. Be sure to visit her blog as well!
The post Not So Spooky Monster Party appeared first on Paper Crush.
]]>When I saw the amazing pictures that Amy of Amy L.B. Photography posted on Facebook for her son’s 6th birthday pirate party, I knew I had to share them with you here! I first saw Amy’s talent when her Fairyland Safari party was featured on the Totful Memories blog and even more recently her Dinosaur […]
The post Featured Party – Arrgghh, it’s a Pirate Party! appeared first on Paper Crush.
]]>When I saw the amazing pictures that Amy of Amy L.B. Photography posted on Facebook for her son’s 6th birthday pirate party, I knew I had to share them with you here! I first saw Amy’s talent when her Fairyland Safari party was featured on the Totful Memories blog and even more recently her Dinosaur Rawr party was featured on HWTM – wow!!
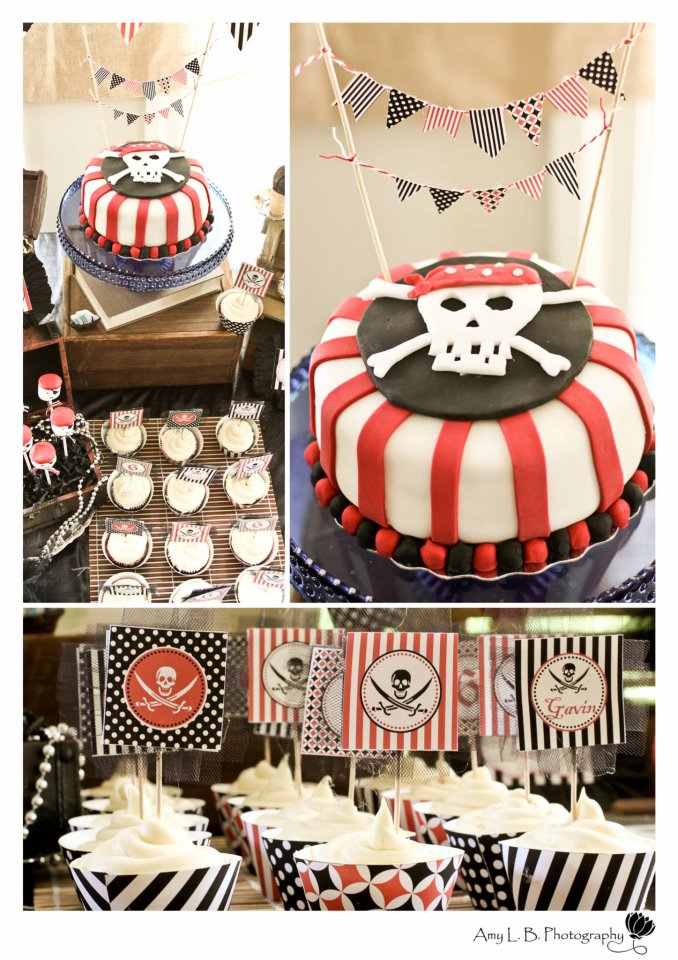
Amy made everything herself. And when I say everything, I mean EVERYTHING (with help of her wonderful husband) including the cake, decorations, favors, food etc. Just take a look for yourself at the fabulousness she captured beautifully!
A great party starts with a fun invitation! The invitation and all party printables were created by the talented Ashley at Cupcake Express.
 The dessert table included a fondant cake that Amy made herself as the centerpiece, along with cupcakes, red velvet cake pop cones, pirate marshmallow pops and jello ships.
The main eating table was beautifully decorated and guests enjoyed pigs in a blanket to eat along with pink lemonade and chocolate milk served in glasses embellished with burlap and party printables – darling!!
Activities included searching for a treasure filled with gold coins and skull & crossbone crayons, breaking a pinata Amy made, playing and having a water balloon fight in the cardboard ships Amy’s husband created, a photobooth for kids to take some silly pictures and some fun pirate crafts as well – wow!!
Darling printable bags filled with fun little toys were given to each guest as a party favor.
More amazing decorations and a beautifully decorated chair for the birthday boy to open his presents in. I’m certain Gavin and all of his friends had an AMAZING time at the party! Thanks for letting us share, Amy!!
The post Featured Party – Arrgghh, it’s a Pirate Party! appeared first on Paper Crush.
]]>We’re coming to the end of baseball season here at our house…playoffs are now starting for my boys. I wanted to share this vintage baseball themed birthday party that my friend Toni created for her boys – it’s a perfect party theme for anyone with boys who love baseball, or use some of these ideas […]
The post Featured Party – Vintage Baseball Theme appeared first on Paper Crush.
]]>We’re coming to the end of baseball season here at our house…playoffs are now starting for my boys. I wanted to share this vintage baseball themed birthday party that my friend Toni created for her boys – it’s a perfect party theme for anyone with boys who love baseball, or use some of these ideas to throw an end-of-the-season party for your team!
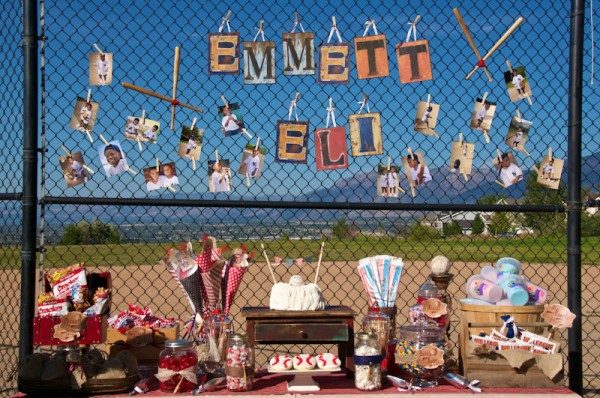
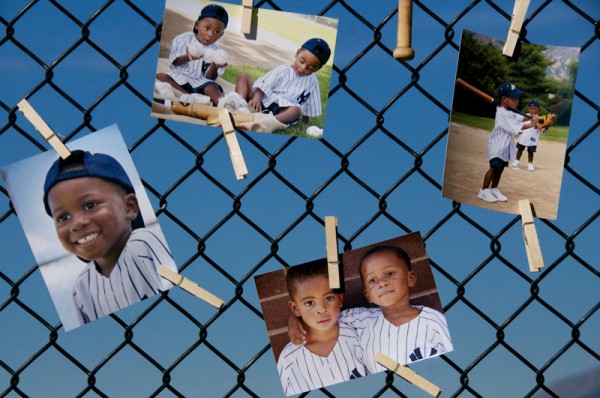
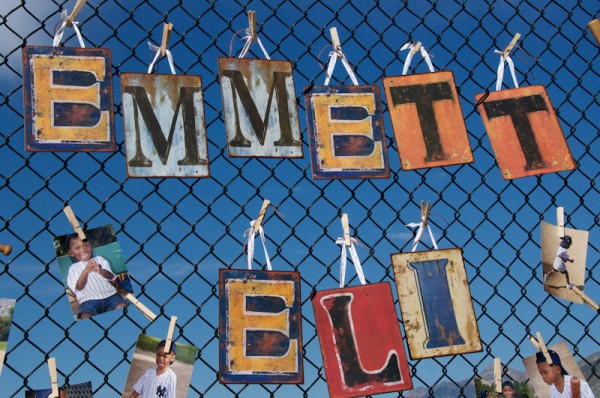
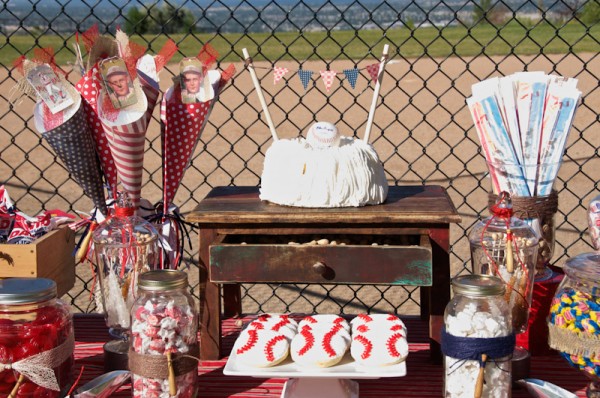
The party was held at a local park with a baseball diamond (of course!) so Toni put the dessert/candy table in front of the baseball diamond fence. Vintage letters were used to spell out the boys’ names along with a bunch of pictures all hung with clothespins to create a simple but wonderful backdrop…genius!
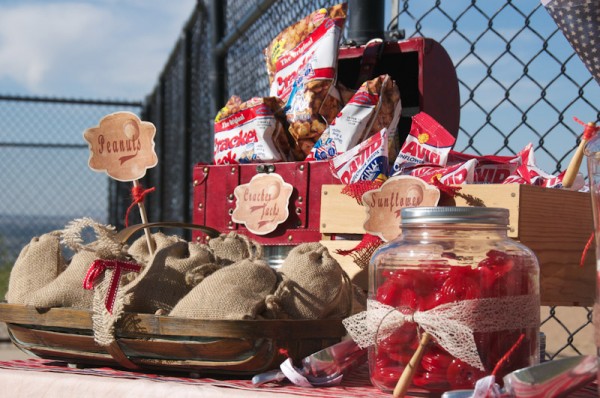
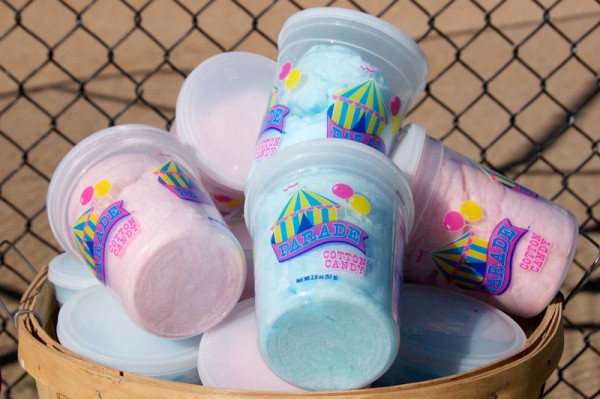
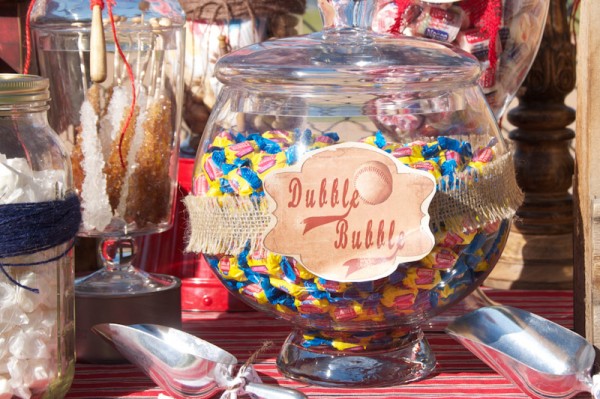
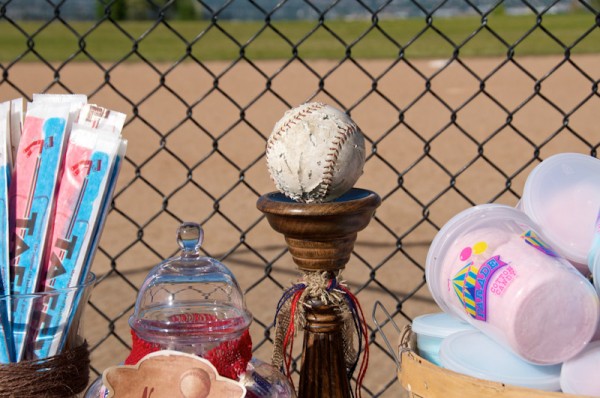
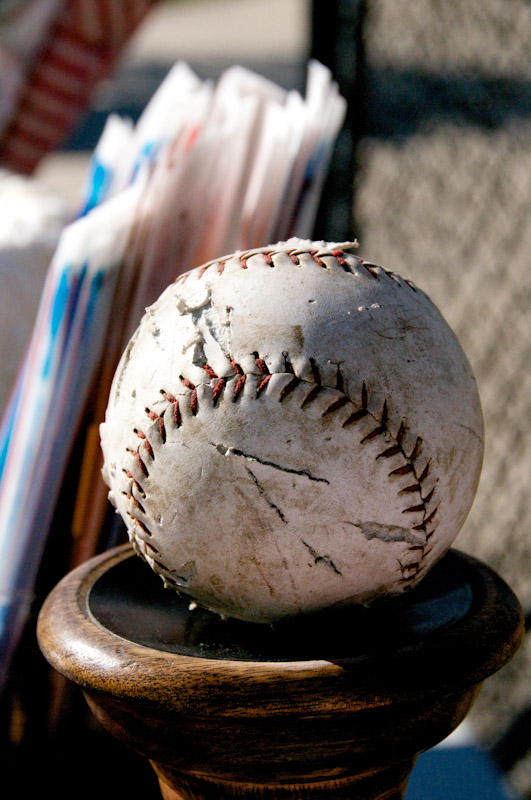
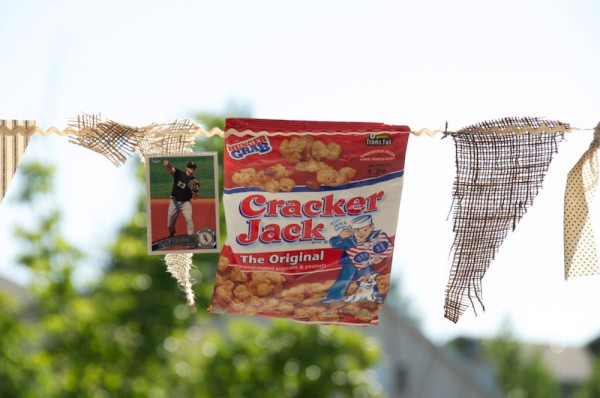
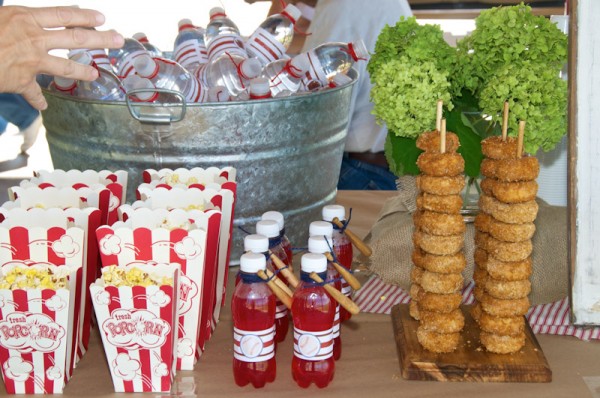
Using wooden boxes, crates and baskets from her home were great (and free!) for holding various vintage candies and baseball snacks such as Cracker Jack, peanuts, sunflower seeds, taffy, licorice wheels, cotton candy, rock candy and bubble gum.
The use of mason jars, burlap and jute also give the table the vintage look she was going for. And did you notice all of the tiny baseball bats tied to the candy jars – they are just the perfect touch!
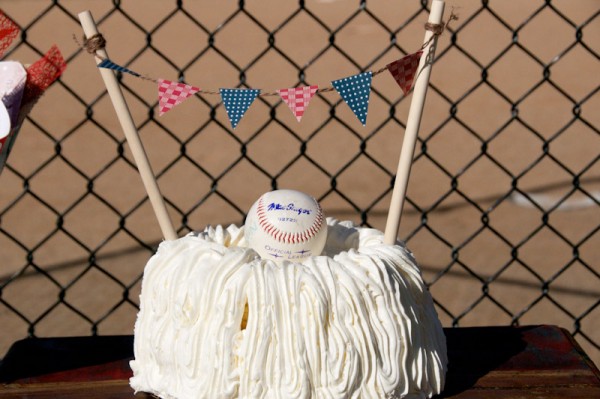
At the center of the sweets table was a fun homemade cake with a darling bunting and baseball in the middle – so cute!
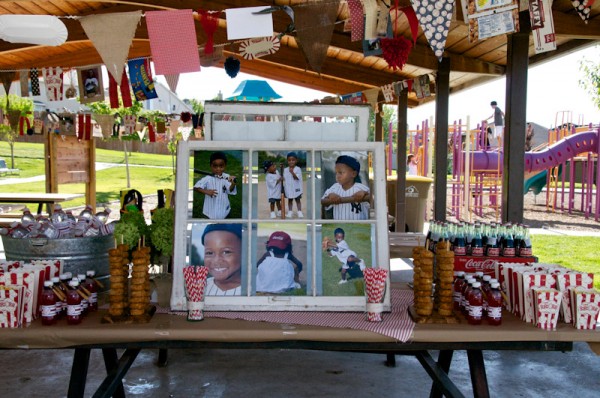
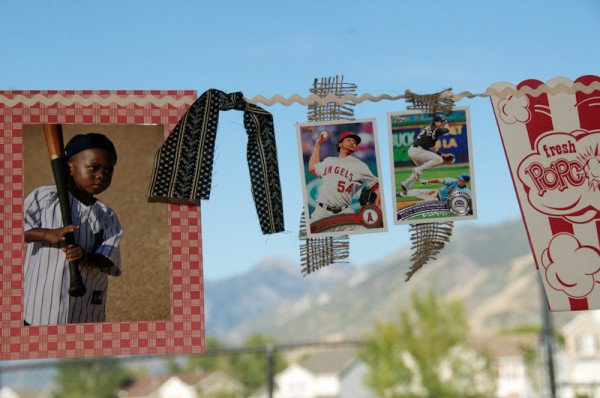
Additional food and drinks were displayed on a table under the pavilion at the park which was decorated with these fabulous “junk banners” as Toni calls them. You basically just take anything related to the theme and/or colors of your party and sew them onto a very long piece of ribbon or ric-rac. Simple, inexpensive and totally dresses up the party area!
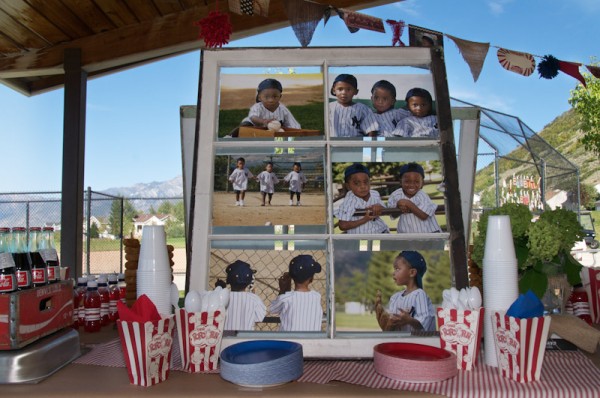
I love how she used an old window frame to display pictures of the boys for all the guests to see.
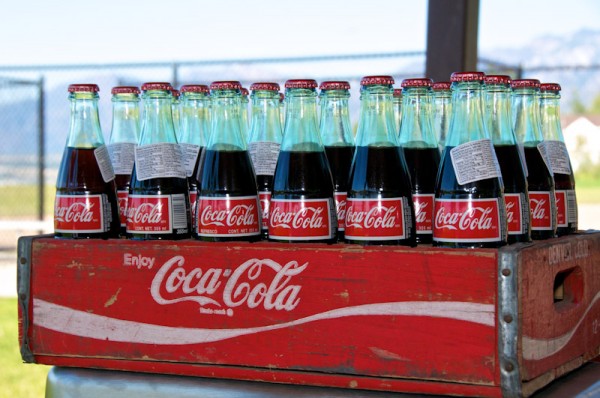
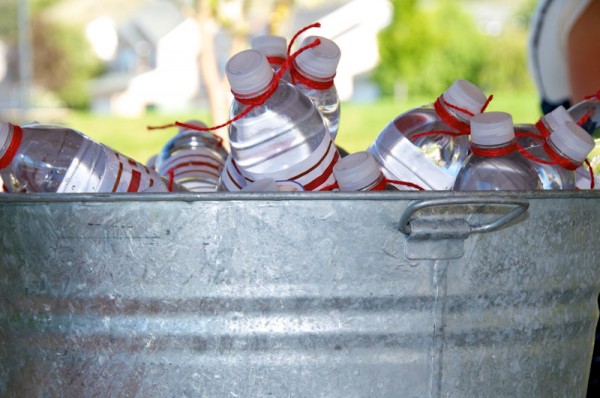
The classic Coca Cola crate and galvanized storage container for holding drinks definitely keep with the vintage theme of the party.
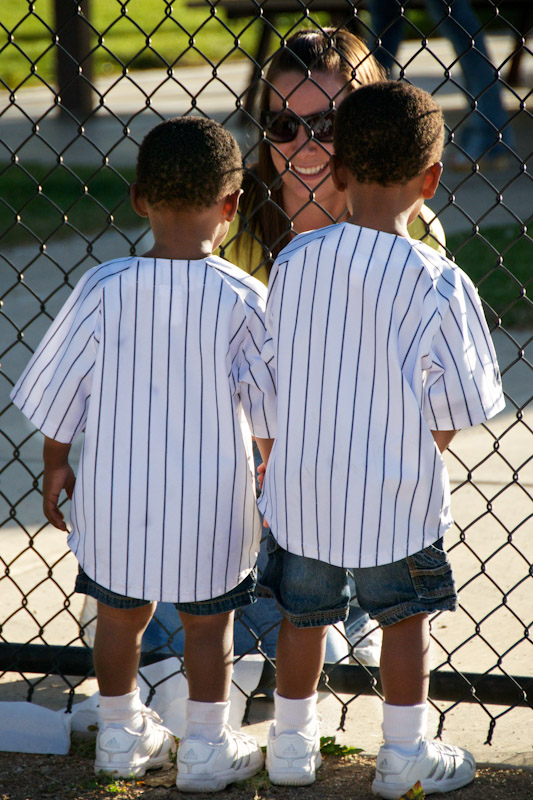
I just love this picture of the boys in their matching baseball shirts…they’re ready to play a game of baseball! Which is exactly what guests did after eating and having dessert…a great activity for a large group of people and everyone had a really fun time!
Thanks for letting me share your wonderful vintage baseball party, Toni. As always, you did a fabulous job! And yes, it’s the same friend that created the darling Monster Party and Graduation Dessert table – she’s AMAZING!!
Vendors:
Party Styling: Toni at Missionary Munchies
Photography: Posh Photography
Vintage baseball labels: Michelle at The Glitzy Pear
The post Featured Party – Vintage Baseball Theme appeared first on Paper Crush.
]]>Yes, believe it or not, I AM still alive…just neglecting the blog unfortunately!! A few weeks ago we held a little baby shower for a cute lady in our neighborhood. It wasn’t anything really fancy, but I wanted some cupcake toppers for the cupcakes, just to dress them up a bit. I couldn’t find […]
The post Freebie Friday – Boy Baby Shower Printable Circles appeared first on Paper Crush.
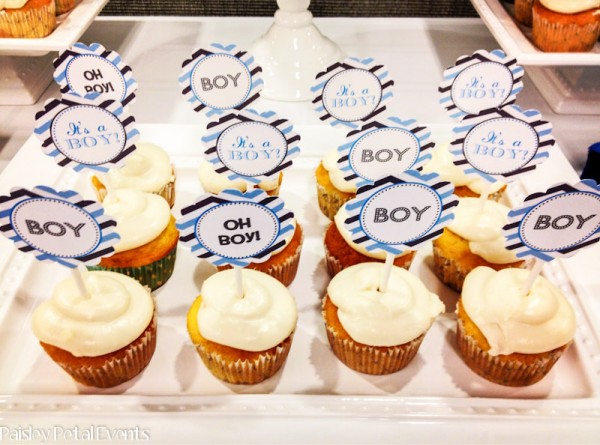
]]>Yes, believe it or not, I AM still alive…just neglecting the blog unfortunately!! ![]() A few weeks ago we held a little baby shower for a cute lady in our neighborhood. It wasn’t anything really fancy, but I wanted some cupcake toppers for the cupcakes, just to dress them up a bit.
A few weeks ago we held a little baby shower for a cute lady in our neighborhood. It wasn’t anything really fancy, but I wanted some cupcake toppers for the cupcakes, just to dress them up a bit.
I couldn’t find any that were just exactly what I wanted, so I quickly made some of my own. They’re just simple light blue and grey colors with a fun chevron patterned background. Maybe you’ll need them for an upcoming shower, so download these Blue and Grey Chevron cupcake toppers and save them on your computer for later! Please excuse the Instagram iphone pic!
Blue and Grey Chevron Cupcake Toppers
Happy Weekend Everyone!!
The post Freebie Friday – Boy Baby Shower Printable Circles appeared first on Paper Crush.
]]>