I wanted to add some new ornaments to my gold Christmas tree this year and when I was sent a box of fun Recollections glitter from Michaels stores, I started thinking about what I could make to give my tree some new life. I came up with these DIY glitter pinecone ornaments and I LOVE […]
The post Glitter Pinecone Ornaments appeared first on Paper Crush.
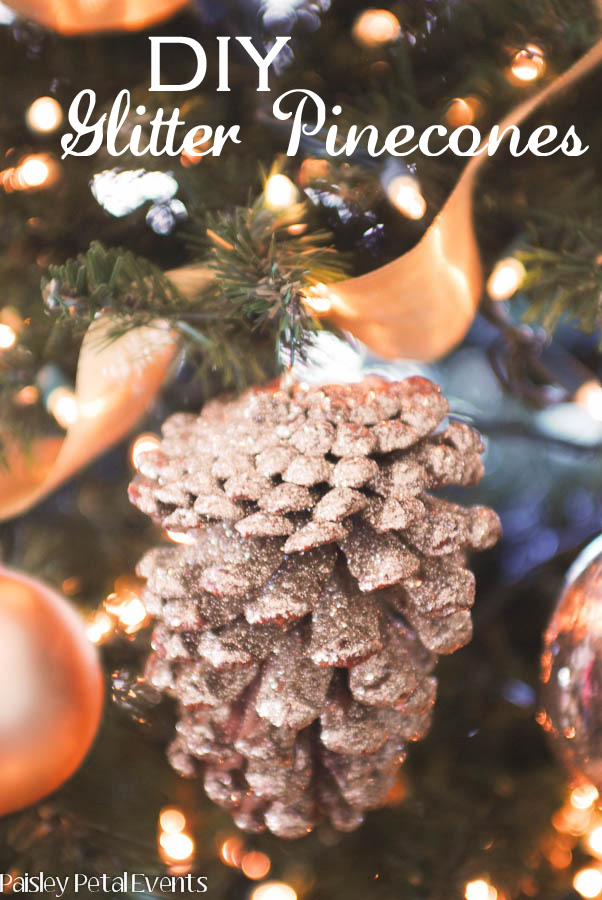
]]>I wanted to add some new ornaments to my gold Christmas tree this year and when I was sent a box of fun Recollections glitter from Michaels stores, I started thinking about what I could make to give my tree some new life. I came up with these DIY glitter pinecone ornaments and I LOVE how they turned out!
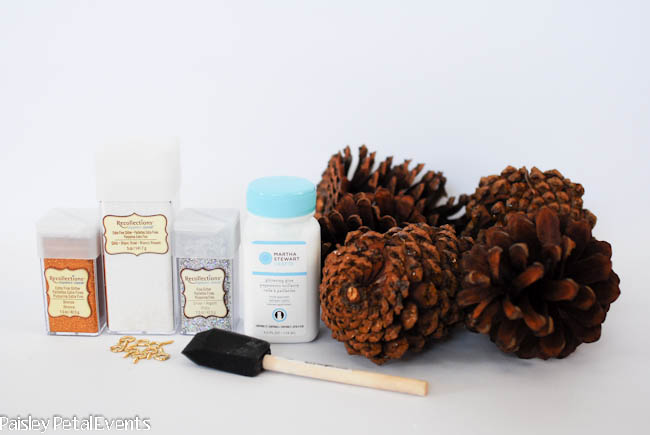
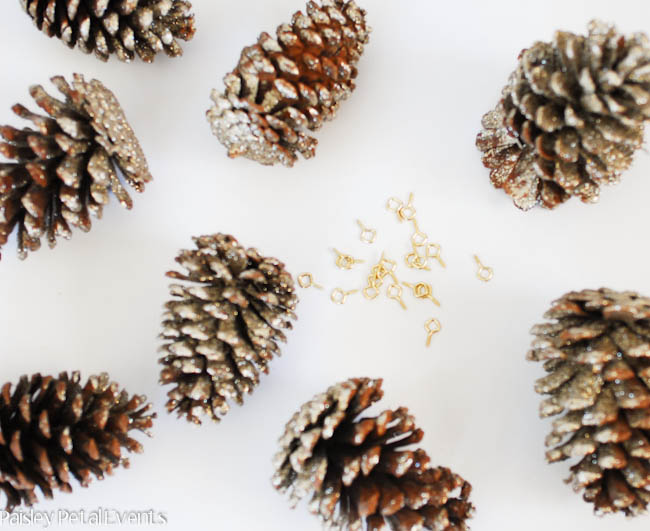
To make these glitter pinecone ornaments you will need large pinecones, glue (or mod podge), a small brush, glitter and 1/2″ screw eyes. I found my large pinecones at Walmart.
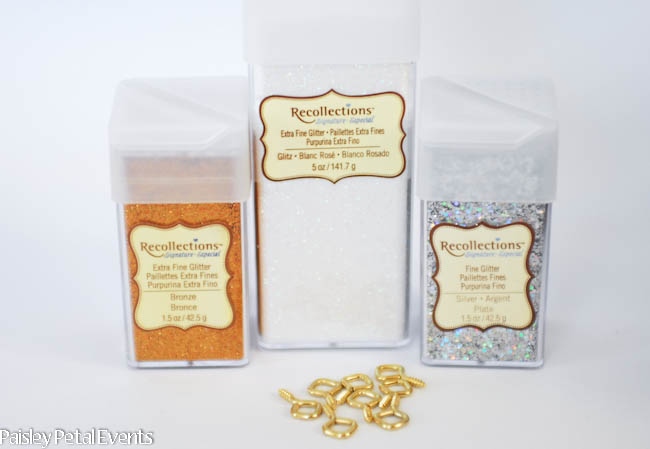
Recollections glitter is found exclusively at Michaels craft stores starting at $3.99 a bottle. They sell it individually or in packages, as well as different colors and textures such extra fine, chunky and tinsel. I located the 1/2″ brass screw eyes at Home Depot in a picture hanging kit.
First, apply the glue to your pinecones using a small brush to reach in between all layers of the pine cone.
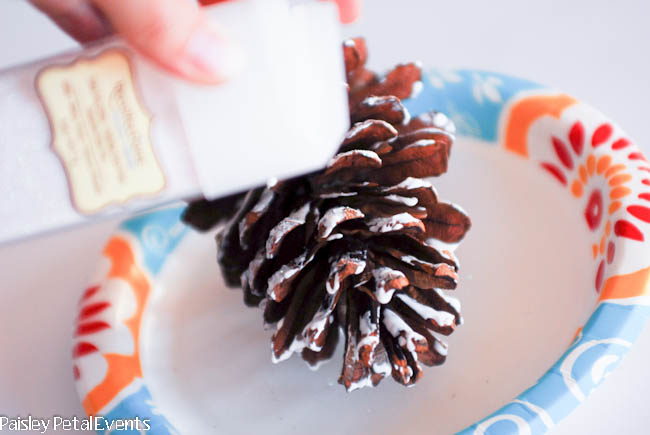
Next, generously sprinkle glitter all over your pinecone to cover all glue areas.
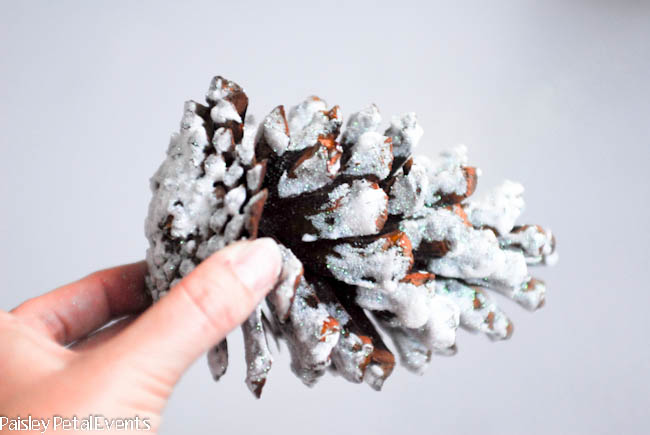
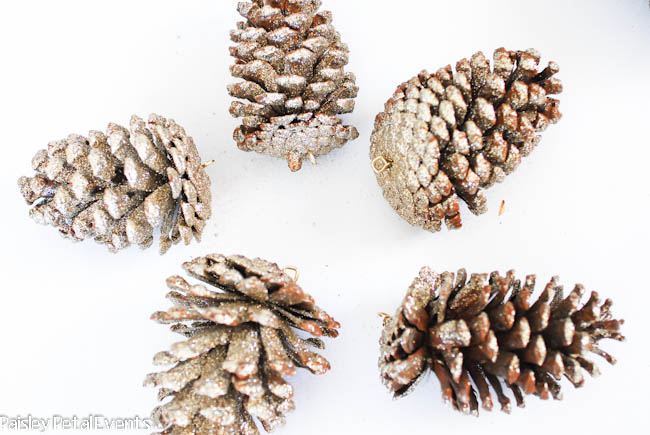
Here’s the pine cone right after the glitter was applied but before the glue had dried.
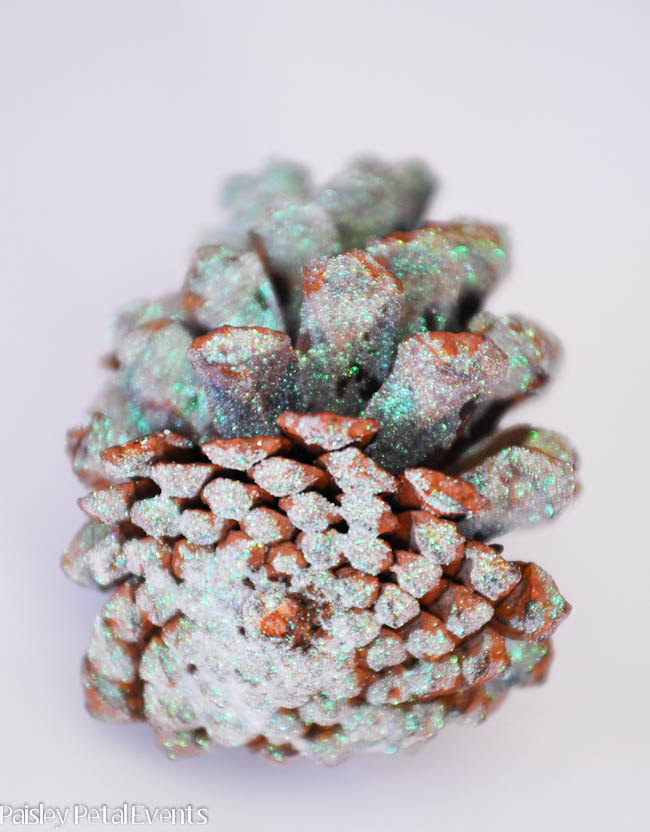
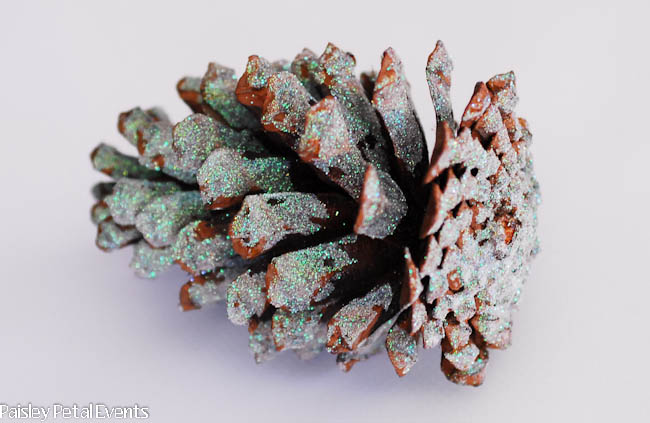
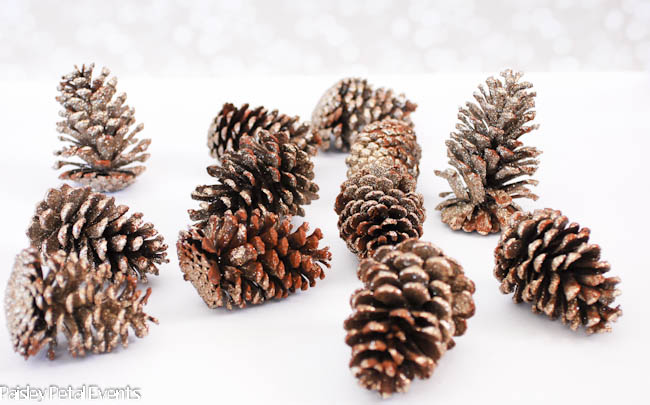
I used a white iridescent glitter on this pine cone and it turned out very pretty once the glue had dried, but I didn’t love it with the rest of my tree decor so I used gold glitter for the other pine cones I made.
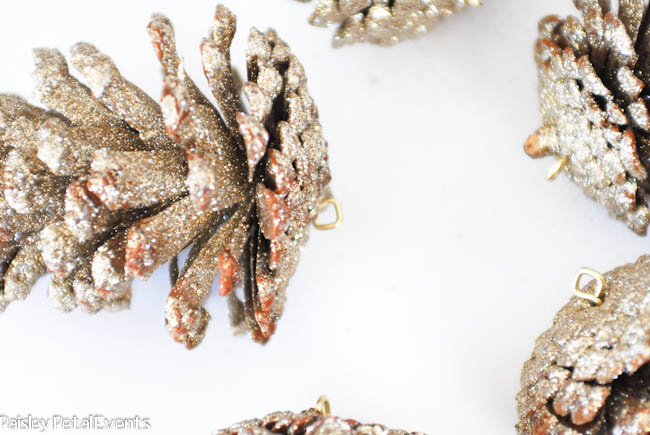
Once your pinecones have dried complete, simply push & twist the screw eye into the top of your pine cone, attach an ornament hanger and hang on your tree!
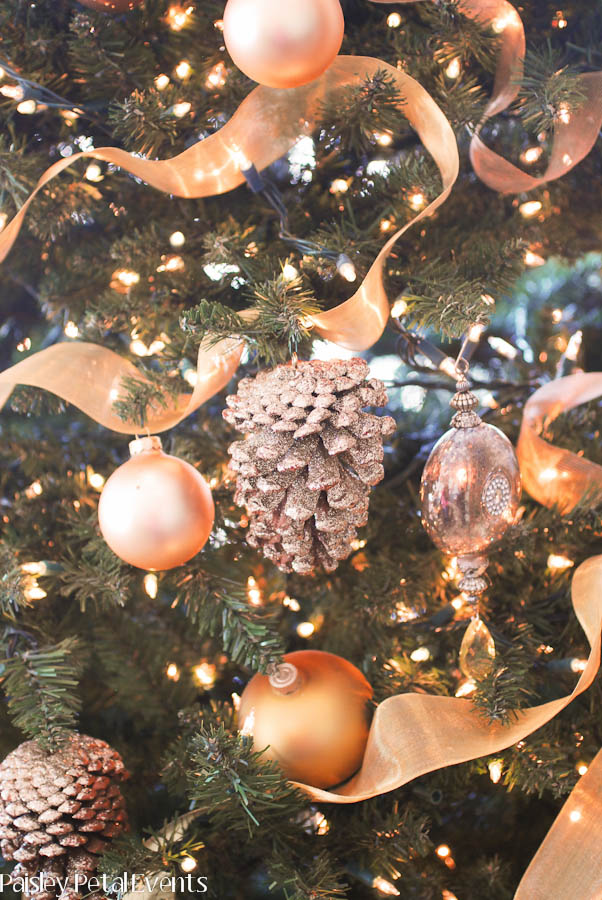
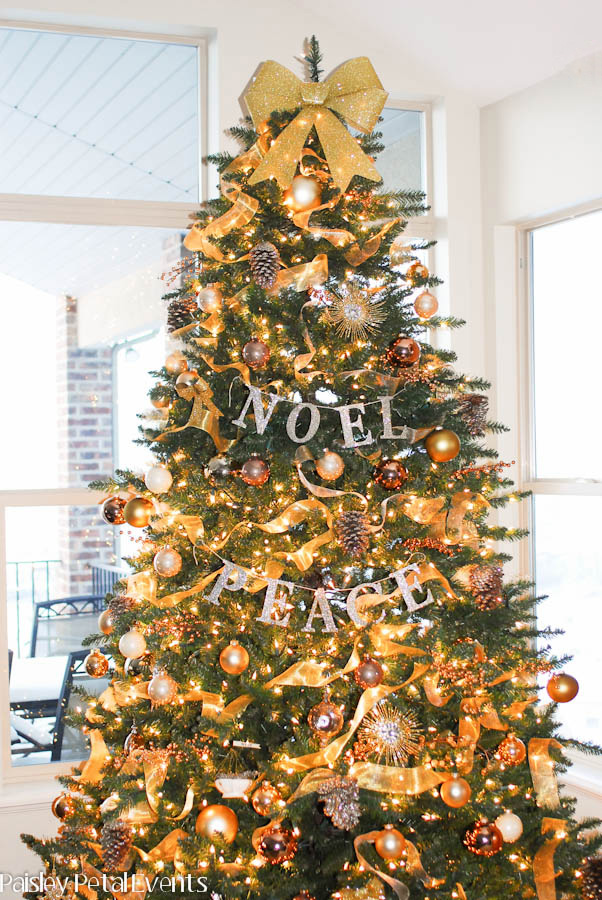
Here’s my gold Christmas tree with my new glitter pinecone ornaments along with a few other additions – the glittered letters are new too!  Glitter can be used for so many fun projects, don’t you think?! The tutorial for making those is coming soon.
***I was provided product and compensation in exchange for this post, but all opinions are completely my own.
The post Glitter Pinecone Ornaments appeared first on Paper Crush.
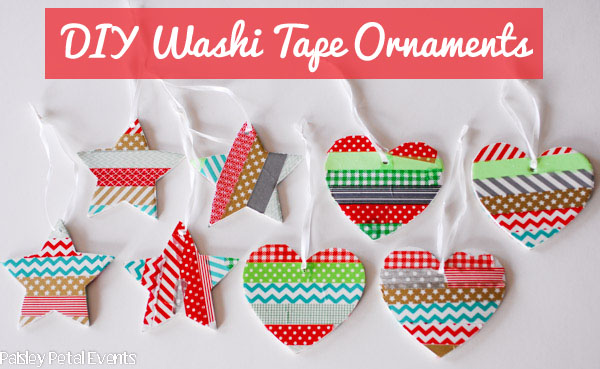
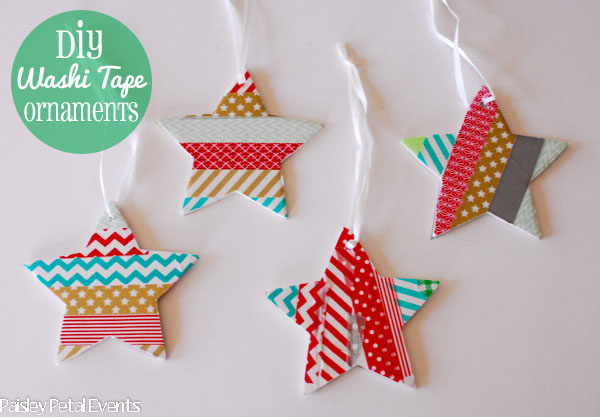
]]>Last week, over at Design Dazzle, I shared this simple and fun Christmas craft idea you can do with the kids – make washi tape ornaments! Yes, I know…another washi tape project…sorry! There’s just too many fun uses for the stuff 😉 I ran across some plain white cardboard ornaments at IKEA, and I knew […]
The post Washi Tape Ornaments appeared first on Paper Crush.
]]>Last week, over at Design Dazzle, I shared this simple and fun Christmas craft idea you can do with the kids – make washi tape ornaments!
Yes, I know…another washi tape project…sorry! There’s just too many fun uses for the stuff  I ran across some plain white cardboard ornaments at IKEA, and I knew I could come up with a fun Christmas craft for the kids.
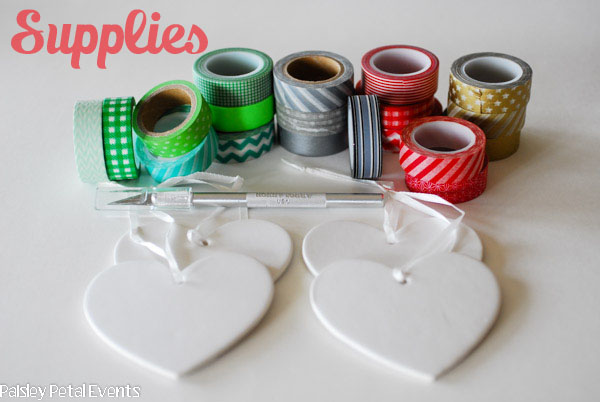
For this project you’ll need thick cardboard or chipboard ornaments, washi tape and an xacto knife – that’s it!
These particular ornaments had a white ribbon already attached, so first I removed the ribbon so the kids could decorate the ornaments.
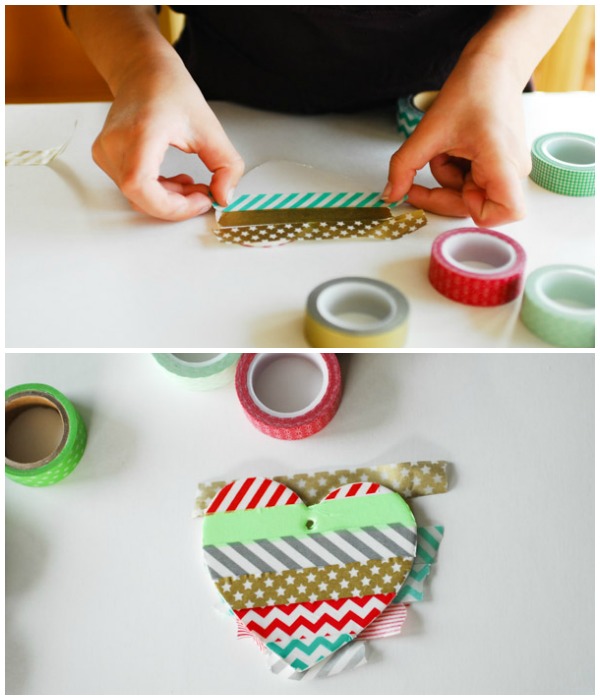
Step 1: Add Christmas-colored washi tape to ornaments.
Step 2: Parents – use an xacto knife to cut off the excess washi tape.
Step 3: Decorate back side of ornaments with washi tape.
Step 4: Parents – use an xacto knife to cut off excess tape.
I then tied the ribbon back on the ornaments and that’s it – ready to hang on the tree!
My youngest is 5 and she loved working on this ornament craft! Younger children could also easily decorate the ornaments – you just might have to rip the tape for them and they can place it on wherever they like. For more washi tape ideas, feel free to check out my other posts.
The post Washi Tape Ornaments appeared first on Paper Crush.
]]>