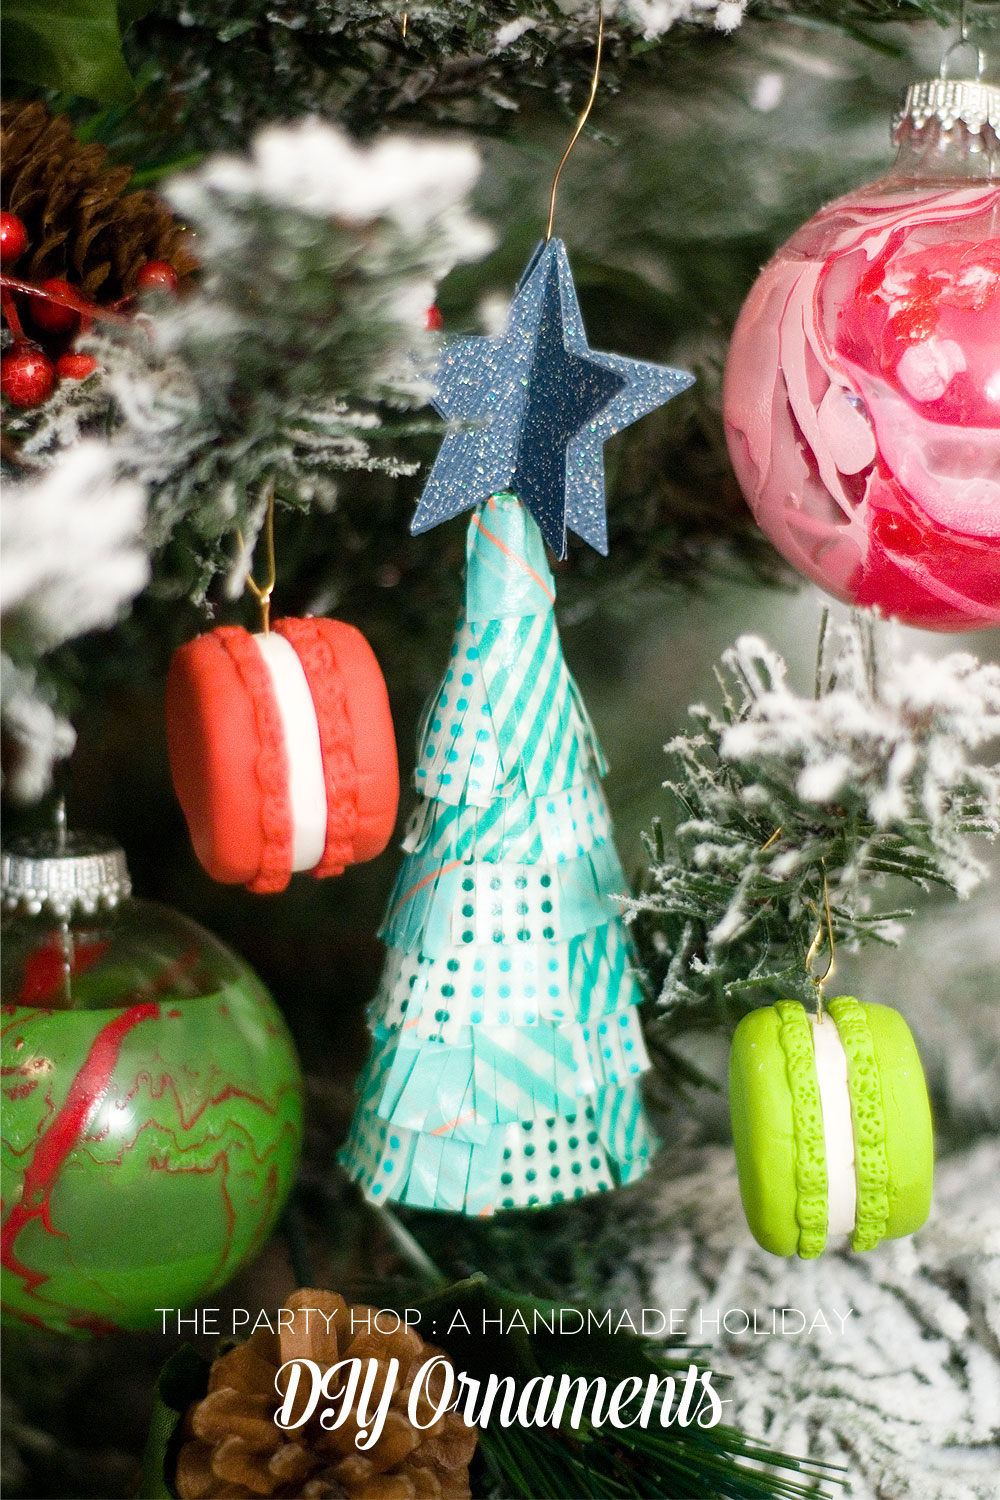
I’m so excited to be a part of a fun idea that Sara from Confetti Sunshine put together – it’s called a Party Hop where a group of creative, party-loving bloggers all contribute their great ideas and make one big giant party! This time around the theme was “A Handmade Holiday” so everyone has created DIY projects to give those holiday projects, parties and ideas a personal touch.
Today I’ll be sharing my contribution – a DIY Holiday Banner that you can use for Christmas decor or for a holiday party as well! Today’s other wonderful creations include DIY gift wrapping ideas so be sure to visit the other blogs to see the step by step instructions on their gift wrapping ideas.
Check back every day this week to see all of the other fabulous creations in our Handmade Holiday blog hop!
Banners are a favorite decor item of mine! They can be used for party decor as well as everyday decor – you just change them out depending on the season! A printable banner is a quick and easy way to add a little flair to your decor, but recently I’ve been adding a little extra color and weight to my banners with colored cardstock. It really makes your banner stand out even more.
To make the banner you will need:
1. Printable “Happy Holidays” banner
2. 12″x12″ colored cardstock to match your decor
3. Paper trimmer
4. Scissors
5. Glue stick
6. Hole punch
7. Ribbon
First you need to print and cut out your Happy Holidays banner. I like to print mine at Office Depot and I bring my own heavy weight white cardstock to save money – they always do a fabulous job!
Step 1: Cut off 4 inches from 1 side of your 12×12 cardstock to make the paper 8×12.
Step 2: Cut the 8″x12″ paper in half to make 2 rectangles that are 6″x8″.
Step 3: Apply glue to back of printed banner piece.
Step 4: Center banner piece and adhere to cardstock.
Step 5: Cut your colored cardstock to match the banner shape by cutting from bottom left to center.
Step 6: Do the same on the right side – cut from the bottom right to center leaving same width of cardstock on each side of banner.
Step 7: Punch holes on top of cardstock approximately 1 inch from each side.
Step 8: Thread ribbon through the holes on each banner piece and hang!
Depending on the surface you’re hanging the banner from, I like to use either clear command hooks or even clear packing tape holds well.
Here are the sneak peeks at the DIY gift wrapping ideas being shared today. Be sure to visit their blogs for all the details!
DIY Watercolor Gift Wrap from Lulu the Baker
DIY Ornament Gift Tags by The Elephant of Surprise
DIY Egg Carton Gift Wrap by My Paper Pinwheel
Be sure to come back tomorrow for some fabulous DIY ornaments!


[…] DIY Holiday Banner by Paisley Petal Events […]